Rich, the shoe rack idea looks great! I went a different route because Janet and I didn't see how the "wardrobe" was going to be any use at all to us. I've taken pictures and posted them below.
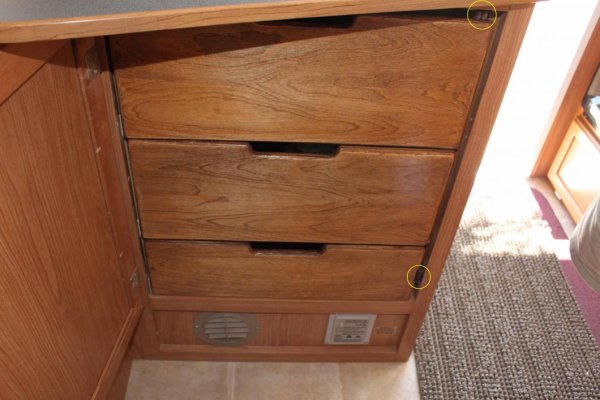
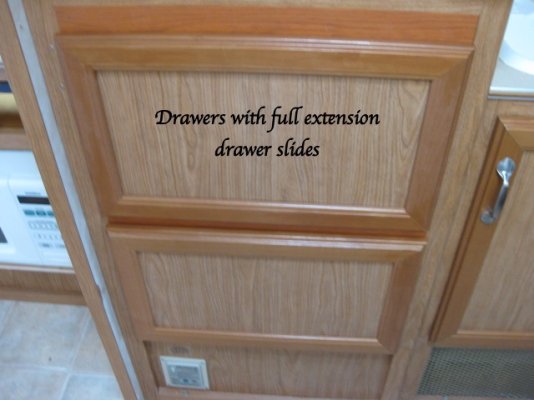
After removing the rod (I left the wooden support it was attached to in place), I constructed three, roll-out drawers for the space. The first picture shows these drawers in place in the closed position. I moved the original door latch to the top corner and added an additional magnetic latch beside the lower drawer (both circled in yellow). We each have one of the two top drawers and the bottom drawer holds things like shoes.
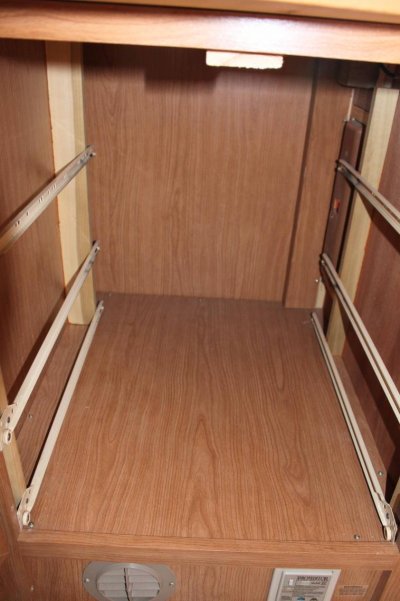
The second picture shows the three roll-out tracks I mounted inside the cabinet. I used two 1x3 birch "furring strips" to support the tracks on the left and 2 1x2 strips on the right. The 1x3s brought the tracks even with the door opening on the left and the 1x2s moved the tracks out enough to clear the pocket for the fire extinguisher which you can see at the right rear.
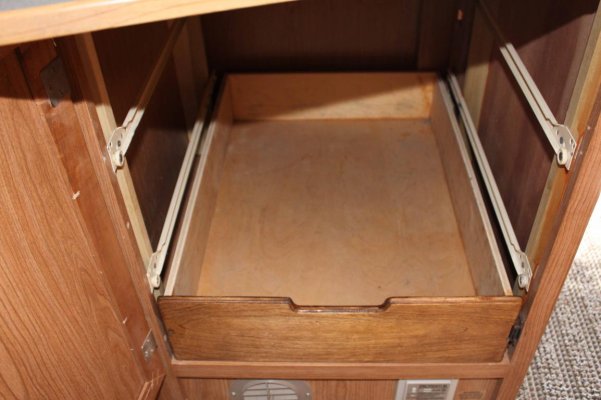
The third picture shows the bottom drawer in place. I tried to size it to take advantage of all the space (width and depth).
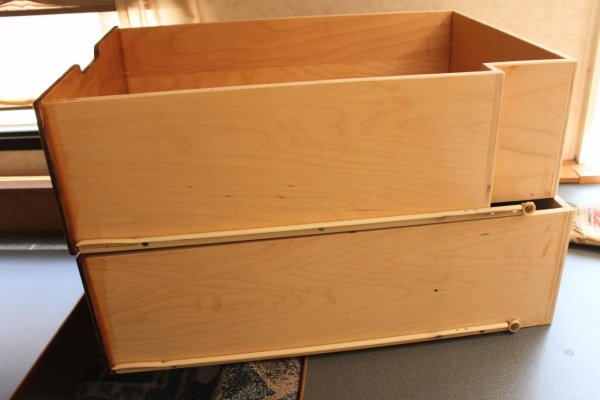
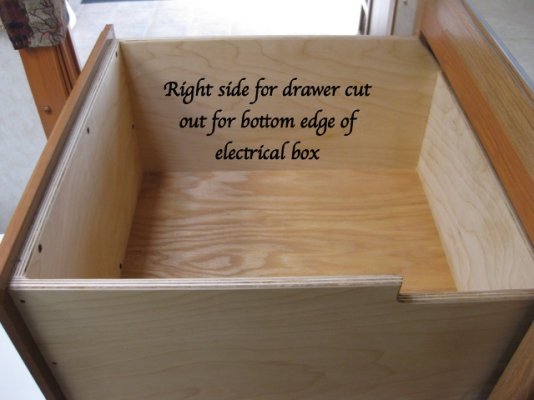
The two top drawers look slightly different. I had to design a "cutout" for the top drawer so it would slide in beside a 110V wall plug that's mounted at the top of the cabinet that projects inside. I constructed all drawers out of 3/8" birch plywood and stained the fronts. No fancy joints.
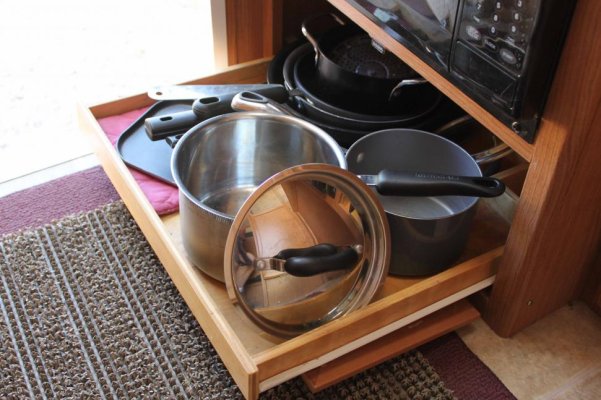
The last picture shows a similar slide out shelf I made to provide easier access to the pots and pans we store under the microwave.
Anyone with access to simple woodworking tools and modest skill could do something similar. Believe me, my woodworking skills are "modest!

It's really improved the space utilization for us when we camp.
- Jack

