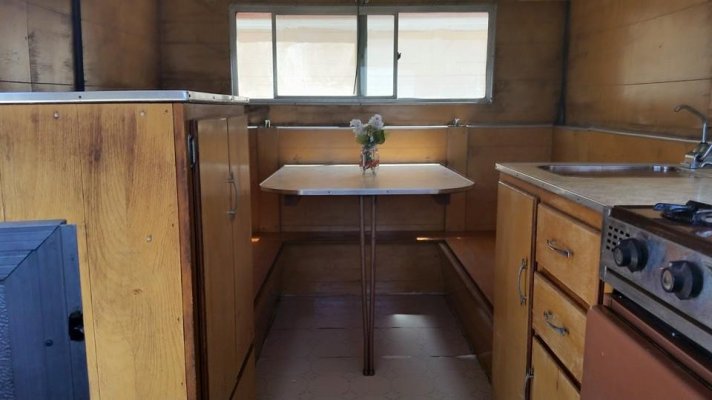
1963 Hi-Lo voyager starting cleanup and assesesment HELP!
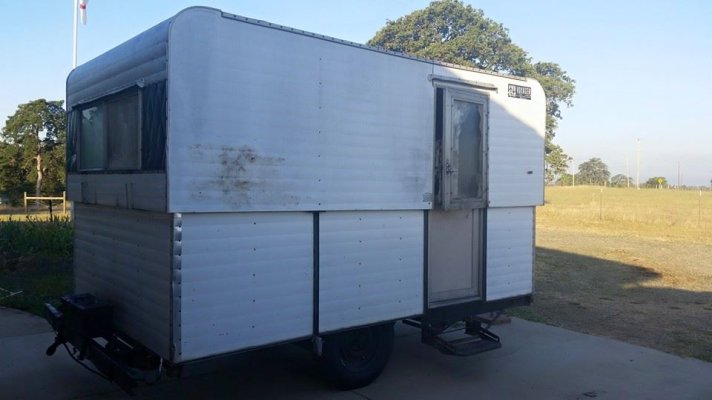
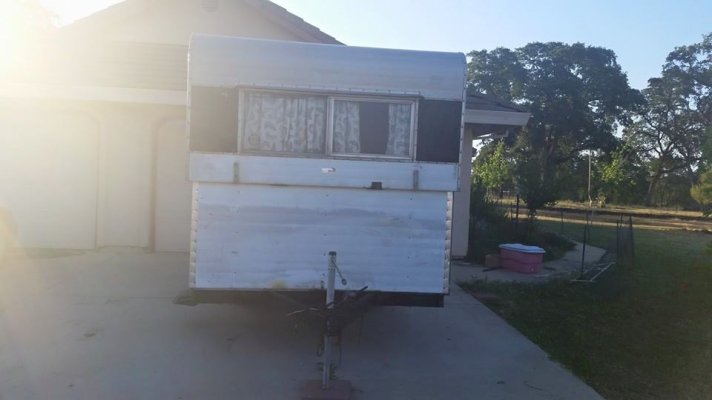
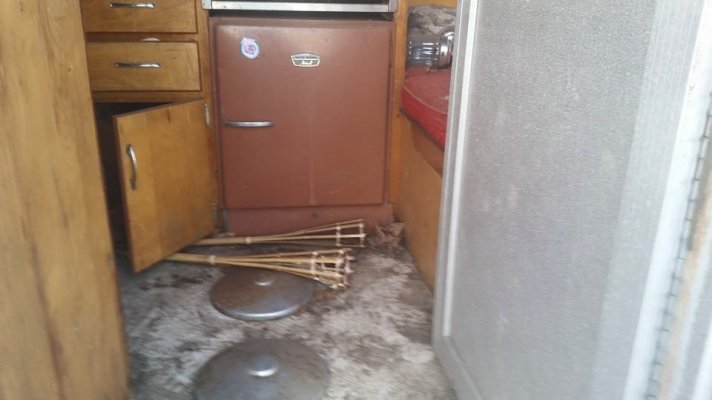
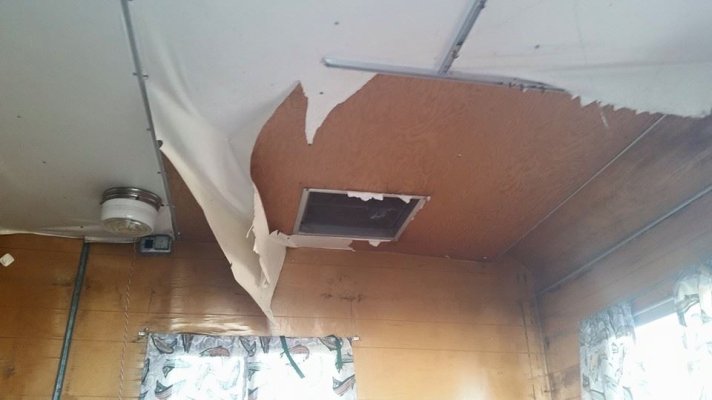
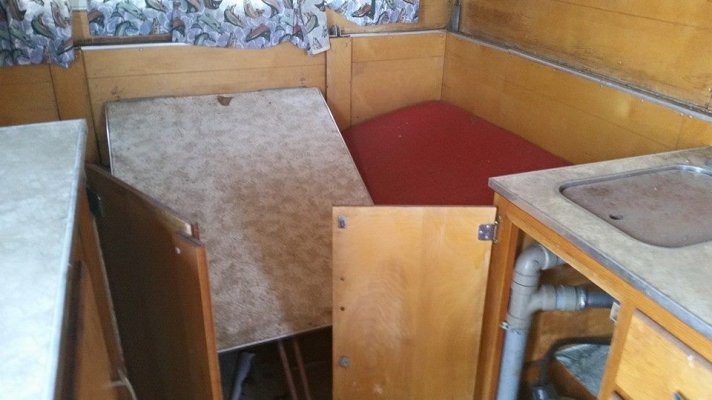
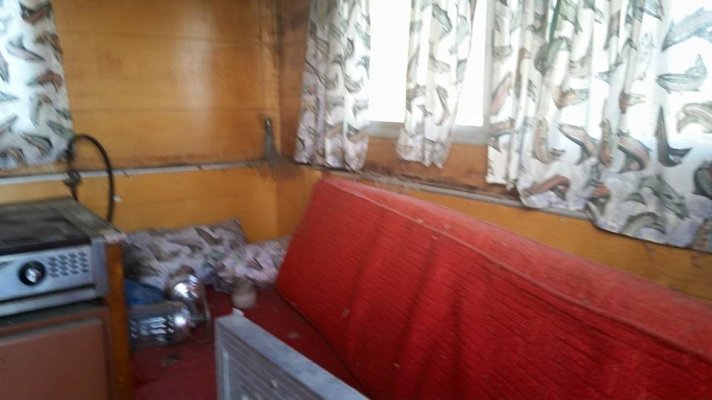
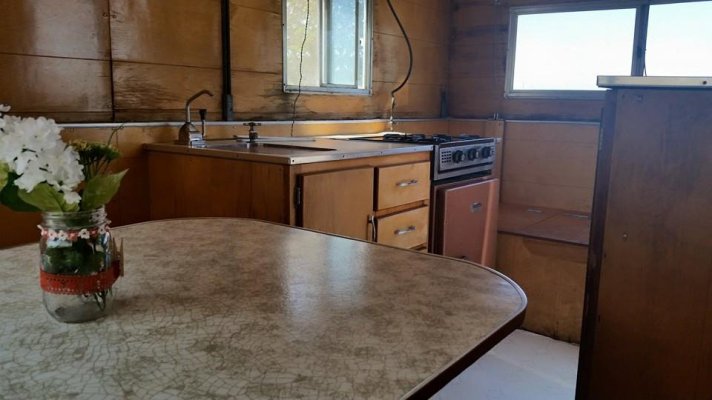
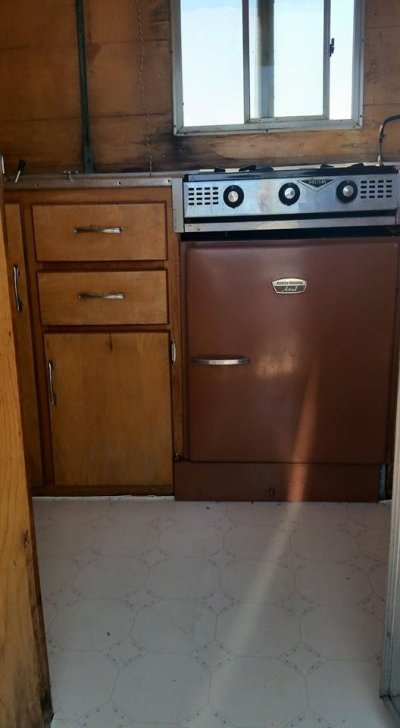
So I just got this old girl back from the ex husband, she wasnt in great shape when we bought her 15 yrs ago but she wasnt well cared for in the time she was with him as he bought a newer version and basically left her to rot, we actually used her for camping many times before getting a new one back in 08 and she was sturdy and didnt leak at the time, however when my son showed up with her and delivered her after all this time I was terribly dismayed at how much damage I saw. In the first set of pics you can see what I saw when i opened the door in the second set you can see what she looks like under 10 yrs of grime,,,still not great but usable for the time being on short trips. Then I started looking at your site and the rebuilds and now I'm completly intimidated as i have never taken on something like this and I honestly dont know where to start....suggestions?
the outside is solid the frame is in excellent shape, floor is solid except in a few areas where there is a small amount of dry rot and the problem is that i have no where to put her under cover should I do a full tare down to keep her dry.
Well- there are many here with much more experience than me. That said- looks like a leak in the roof? I would start there and see if you can seal the top- figure out where that water is maybe coming in. Then- you may not have to keep it undercover. It looks like the plywood on the walls is water damaged- but if the structure is not rotted then you can demo those walls from the inside without having to keep it inside- if the roof is sealed. Cool looking old trailer- i Like your clean up.
Roof leaks are fairly simple to fix with a couple of coats of elastomeric roof sealant (good) or EPDM liquid rubber roof (much better). Applies with a roller like painting a deck although the liquid rubber is much thicker than paint and pretty expensive. Your windows are also leaking as you can see by the wall damage below windows. This could be the window sealant or the drains may be plugged up letting bottom channel fill up with water and run over edge onto the wall. Get someone to run a hose around outside of windows while you are inside and look for where the water is coming in. That is where you should start and let us know what you find. Good luck!
__________________
Jon
1999 Jeep Grand Cherokee
1988 20' Hi Lo Funmaker
Thank you so much Hilltool and Misfit 429 I so appreciate the great suggestions of where to begin it certainly makes it less intimidating when one has a practical starting point I will keep posting as I go along Im guessing it will take a while to get to some things as I have limited help and money but piece by piece I will try to do the old girl justice
Next question is are there any sites that have actual older model replacement parts for Hilo or do we have to wing it with what works from other manufacturers vintage parts ? I googled but most of the sites are for other makes of trailers or much newer than mine. Again Thanks for your time and thoughts
Moonshot, what components are you needing to replace? Almost all of the parts and appliances in HiLos are "generic", which means you can get them from almost all RV supply places. I've gotten things for my HiLo online and from Camping World.
About the only thing that's unique is the lifting system.
- Jack
__________________
Hi-Lo 1707T - Tire Minder TPMS on Tow Vehicle and Trailer, 300W Solar Battery Charger, Equal-i-zer WDH, Progressive Dynamics Converter, Fan-Tastic Fan, LiFePO4 battery 12V DC Electrical System, SoftStartRV mounted on A/C
2024 F150 Platinum FX4 3.5L PowerBoost SCrew
and this what was the Hi-Lo warranty repair facility. They do good work, but they are sometimes hard to get a hold of: Home - JR REPAIR
__________________
My Great Wife Joyce
2018 Jayco Jay Flight 21QB
Formerly owned 1705T and 2310H
2012 F150 4X4 SuperCrew EcoBoost w/Leer Cap
Reese WD Strait-Line Hitch
Amateur Radio K3EXU
As far as replacing paneling etc- home depot, lowes, what have you, are the places to start looking. Do searches on this site for rebuilds or restorations etc to get an idea of what others have used. Jack is correct about appliances etc being generic. And Misfit makes a great point about the windows.
You may also want to google "vintage trailers" and see what pops up. AGain- you might get some ideas about what other folks are doing with vintage trailers. There is quite a community out there. There are things unique to that year trailer in terms of "style" as well as, possibly, some differences as to how older appliances or wiring was done , then. If you are going to do this----my suggestion is to make an adventure of it and have s ome fun. It will get you through the frustrating parts. I am sure we are all rooting for you.
Thanks for the links RichR and the help, and Thank you Jack and Janet, that is very helpful , Im possibly going to have to replace the windows and frames and possibly the door, not sure yet what else...going to try and acid wash the door first and see if I can polish out the damage.
The door doesnt want to latch properly yet its sitting level right now so I'm wondering if that could be an issue with the lifting cables ? It rolls up and down easily but something isnt sitting right?
Moonshot, if your door is like mine, the latch can be moved a bit to either side, which should enable it to catch the "striker" on the door frame. It's also possible the frame is twisted slightly in the raised position, or maybe it's not actually sealing properly (which would indicate a twisting) and that could be fixed by adjusting the cables.
My door (I'm assuming you are talking about the bottom half of the door) does not catch when the top is in the lowered position. But, when the top is up, the latch works perfectly. So, there's a bit of difference in the adjustment between the traveling and camping positions.
Or are you talking about the locking latch on the upper half of the door?
- Jack
Hi Jack: yes the top door is clearly off and slightly angled and doesnt line up when in the raised position, i'm guessing from your assesment and suggestions it is probably a cable adjustment issue. Im not sure how one adjusts the cables, Is there a diagram or instructions somewhere on the internet to do this properly or is it something I might find amongst others posts on this sight?
OK, Moonshot, I DID misunderstand your question. I thought you were talking about the bottom half of the two-piece door. You're having a problem with the top part. It's the part that has the lock on it.
You said the door is sitting level? Or, am I misunderstanding again and you are saying the top is level?
Looking at the picture, it's hard for me to see what's wrong, but it appears that the door is "out of plumb". I wonder if the hinges are bent? If they are, it would probably keep the door from latching. If one or both of them is bent, they should be easy to remove (I think they just screw in) and then they could be straightened, maybe by hammering them flat or putting them in a vise and using pliers.
If you could post a closer picture of the door, and maybe a couple of the hinges that might help us determine the problem. If the door itself is bent, it might have to be replaced, and I suspect you'd have to get one from JR or the other HiLo repair place. I doubt this door is used on anything but HiLos.
The owner's manuals tell you how to adjust the cables, and it's pretty easy, but don't do it if you don't need to. The cables should be adjusted so that the rubber bulb seal on the inside of the top half just meets the "lip" at the top of the bottom half. That keeps bugs and drafts out.
Finally, here's a link to a whole slew of YouTube videos: https://www.youtube.com/watch?featur...&v=2G3-2jyjm-c They are for more recent models than yours, but they can still answer some questions you might have.