Crack in Sink

Bravada

Senior Member
Joined
Jul 1, 2017
Messages
144
Location
Adrian, Mi.
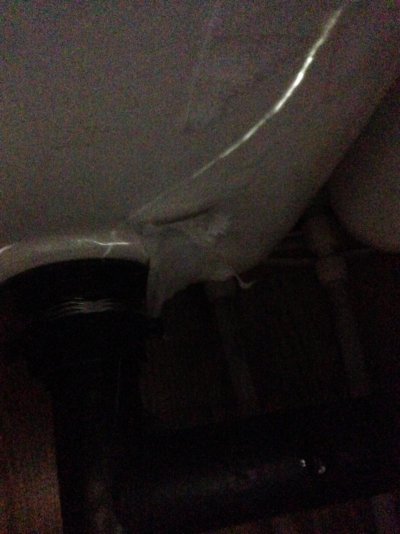
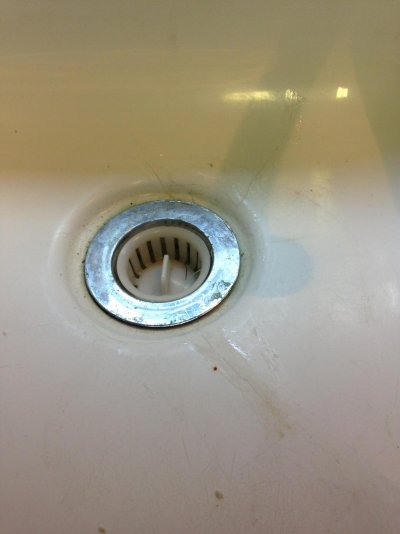
Further study shows a big crack in the sink. You can imagine how it happened.
The fear of lowering the top and....:eek:....yikes what was left in the sink was too tall!

Well it think I can fix it. What has been tried, what works, and what looks good?
Replacing it right now would be nice but I have too much on my plate.
I think the options are try to use caulking in the cracks and from underneath or FG from the underside and a good match of gel coat applied from the top.

Other options?
 
I suspect fibreglass and maybe something like JB Weld for plastics might work. Yes, I'd apply it from underneath, trying to fill the crack as much as possible.

Don't really know what you'd use to "smooth over" the crack on the topside. I think maybe I'd try a good white silicone bathroom caulk. The goal is to keep it from leaking. I don't know if you can restore the "like new" look.

- Jack
 
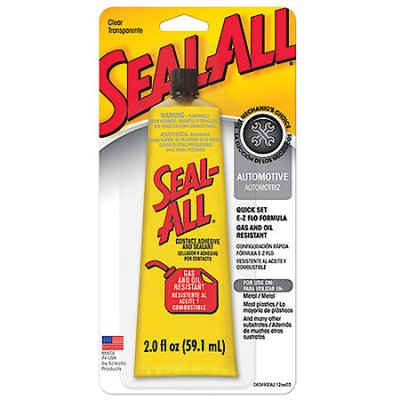
JB Weld! Now there is one I haven't thought of. I have had good luck using it in past. Another one that I forgot about, "Seals All". I have successfully patched gas tanks that rusted through with that stuff.
A friend put me on it years ago. He dropped a battery, chipping the corner off. He patched it and successfully used that battery for several more years.
Thanks folks for getting the brain juices flowing. 🤔
 
Bravada, another member used Marine Tex to repair cracks in the end caps of his trailer. Here's a link to the 14 oz size on Amazon: https://www.amazon.com/Marine-Tex-M...rd_wg=kOPim&psc=1&refRID=G9C2F2D0XBYAM5WH9P2D They also have a smaller, 2 oz size that might be enough for your needs.

It's waterproof, white, strong, can be used with fiberglass and adheres to most plastics. I think it would be better for the inside of your sink than the silicone caulk I suggested. It would likely do the entire repair and once cured, it can be sanded and painted.

- Jack
 
Sink crack

I have had my HiLo since 2001. The previous owner lowered the top with something on the stove and put a big dent in the vent hood. Some years llater I left a thermous on the counter and lowered the top and put a crunch on the under side of the cabinet. It has been repaired. These things happen no matter how long you have owned the RV,\.
 
Here are some pictures if the first steps of my repair. I decided to use Seal All.
Using paper towel I pulled off a piece wetted it and applied it to the underside. After drying I applied more glue to further wet the area.
 

Attachments

  • IMG_1199.jpg
    IMG_1199.jpg
    176.1 KB · Views: 6
  • IMG_0644.JPG
    IMG_0644.JPG
    52 KB · Views: 5
  • IMG_1196.jpg
    IMG_1196.jpg
    105.4 KB · Views: 4
That crack is about 6" along the bottom and one approx 5" around the drain with a third crack in the 11 o'clock position that is 3".

Just got back from vacation and poured a pint of water and let it sit for 30 minutes. It felt dry on the underside and didn't appear to loose any. I think we are good here.

This will be good enough to use until I can find a new one.
 
Sink repairs

You did good with this repair. Buy a small sink matt at a RV place and you won't even care the sink is repaired. We always use a small plastic dishpan for washing and rinsing dishes. Then we usually go and water a tree.
 

Try RV LIFE Pro Free for 7 Days

  • New Ad-Free experience on this RV LIFE Community.
  • Plan the best RV Safe travel with RV LIFE Trip Wizard.
  • Navigate with our RV Safe GPS mobile app.
  • and much more...
Try RV LIFE Pro Today
Back
Top