Work in prigress

motorpig2342

Senior Member
Joined
Feb 12, 2016
Messages
100
Location
Alabama (roll tide!)
Work in progress

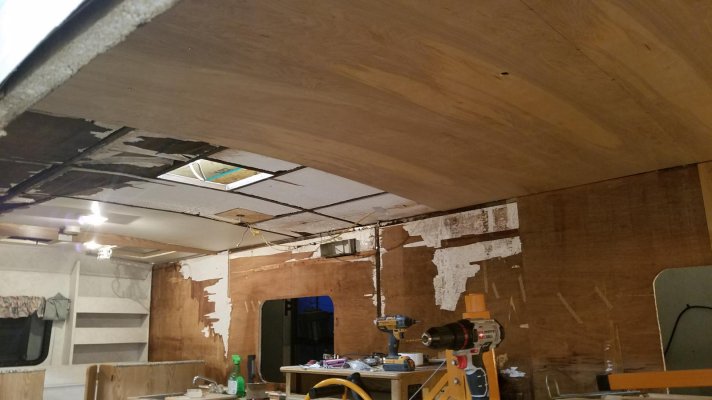
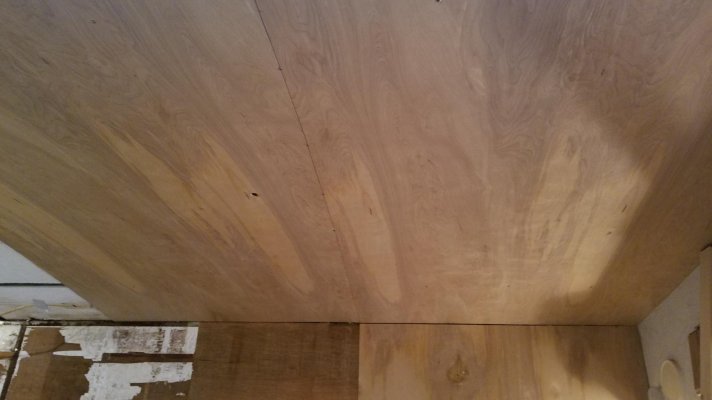
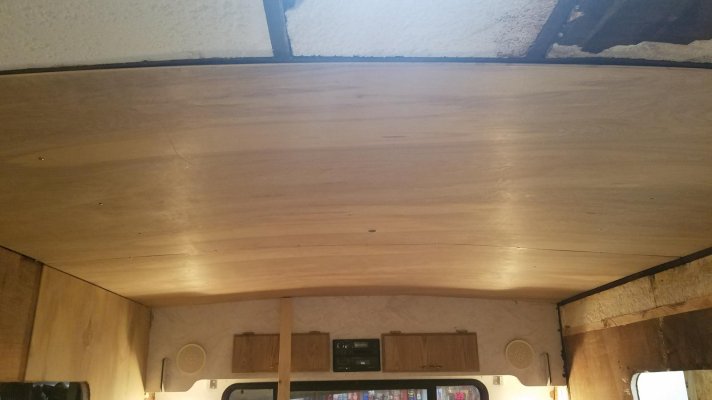
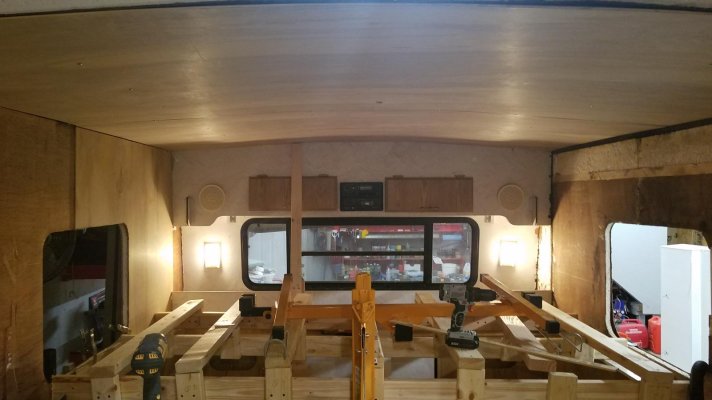
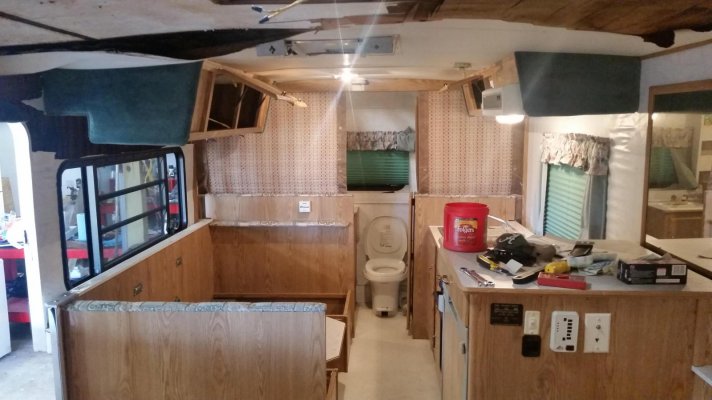
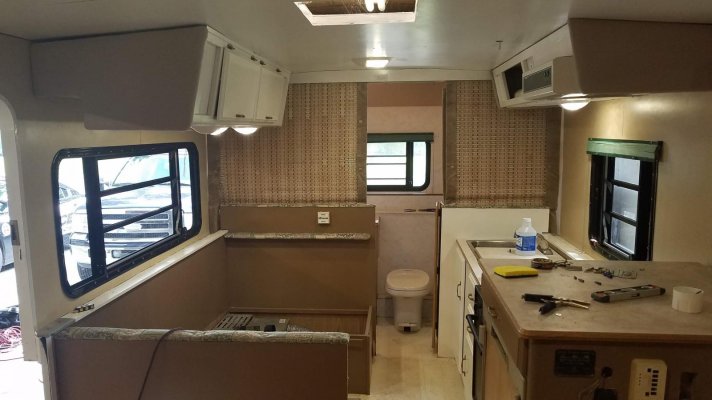
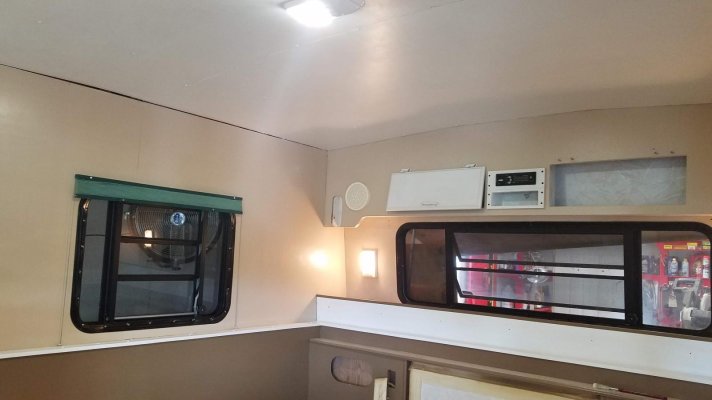
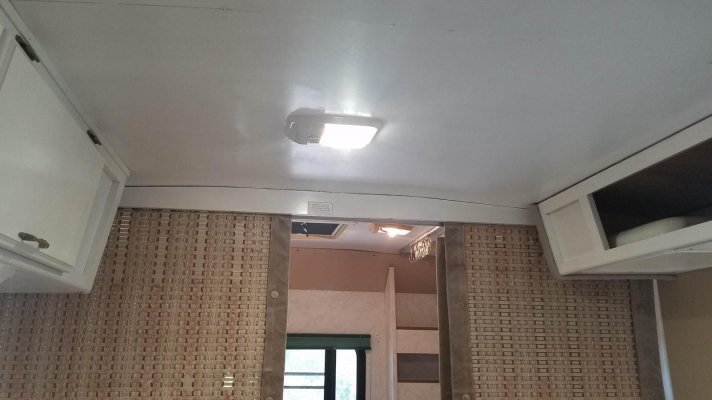
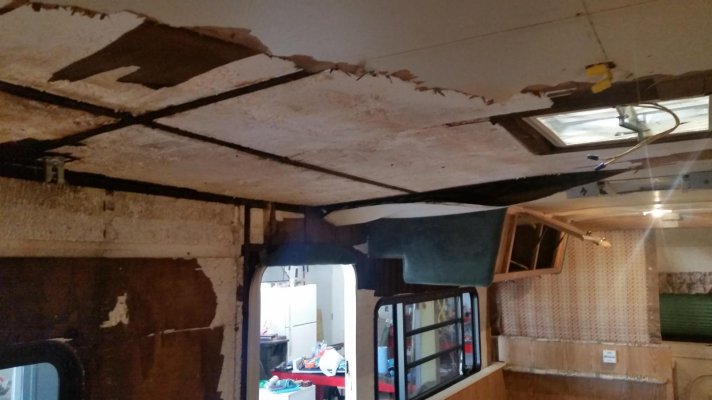
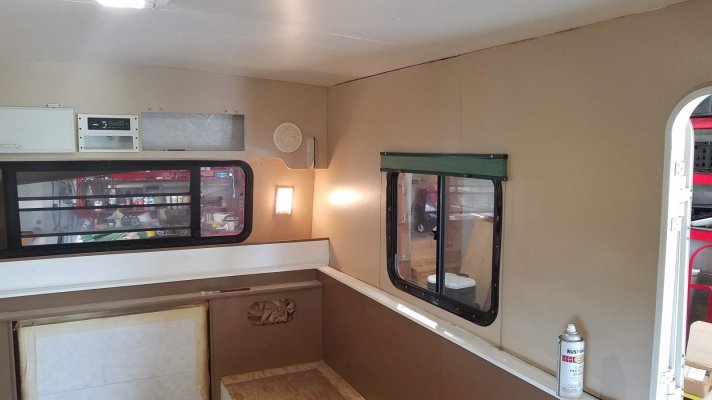
Well, I'm a little excited to see a little progress in my ceiling. I plan on posting a lot of videos I've made along the way , to hopefully help others. This is just the start obviously, being that I'm going to trim everything out, including the joints and paths of stainless screws I used. Here's a couple pics.
 

Attachments

  • 20180404_194050.jpg
    20180404_194050.jpg
    136.8 KB · Views: 65
  • 20180404_194046.jpg
    20180404_194046.jpg
    100.5 KB · Views: 36
  • 20180404_193844.jpg
    20180404_193844.jpg
    102 KB · Views: 31
  • 20180404_193848.jpg
    20180404_193848.jpg
    127.5 KB · Views: 39
Last edited:
Thank you. Im hoping it doesn't feel to cramped without white ceilings. I was wanting this look but I also know about colors creating the illusion of more depth, etc. Easy fix with paint if so though I guess. Then I'd trim it out in the same wood as on the walls, which is the same as on the ceiling at this time.
 
Thank you. Im hoping it doesn't feel to cramped without white ceilings. I was wanting this look but I also know about colors creating the illusion of more depth, etc. Easy fix with paint if so though I guess. Then I'd trim it out in the same wood as on the walls, which is the same as on the ceiling at this time.

I think you’re okay without white ceiling, I used a dark blue which looks nice. I was able to provide some lightening to the interior by going white with some cabinetry and the refrigerator door panel.
 
I think you’re okay without white ceiling, I used a dark blue which looks nice. I was able to provide some lightening to the interior by going white with some cabinetry and the refrigerator door panel.

My plan as of now is to paint all the cabinets and shelving white and use the ceiling and wall wood for the accent inlays. Since the blinds are a teal color and the cushions are beige I'm painting the cabinets fixtures to match one of those colors. I'm trimming out the new wood I'm installing with gloss white. I've already painted the cabinets white and they look really good. Its going to take quite awhile to paint everything that actually cant be removed from inside. I've been using high quality gloss spray paint since it just lays down smoother and in my opinion just looks sleeker. The wife flipped out the other day when she saw I spent $100 just on white spray paint. lol.
 
Cost of remodel

Tell your wife you got Krylon spray at Walmart that was a 25% bonus can. I bet DH and I spent at least $1.000 on our restoration from water damage. That wasn't even any roof repairs interior or exterior. Rv dealer rates are $120.00 an hr. Hobbies cost $.
 
Tell your wife you got Krylon spray at Walmart that was a 25% bonus can. I bet DH and I spent at least $1.000 on our restoration from water damage. That wasn't even any roof repairs interior or exterior. Rv dealer rates are $120.00 an hr. Hobbies cost $.

Funny that you say that.. I did test the $1 cans at Lowes. It was like painting with milk. It wouldn't cover anything and would leave runs no mater what technique you used.
 
Grades of rattle can spray paint.

I have used Walmart brand of rattle can spray paint. It wasn't as good as name brand paint. I've had good luck with Rustoleum or Krylon. Just used paint stripper and did fourteen sets of hardware off interior doors at church. Then I used Krylon Brilliant Gold. Some people are lazy when they paint and paint over hinges!! They also don't remove electrical plates and paint over outlets..wall switches. I used hammered black to paint the tongue of my HiLo. Can't stand to see rusty wheels on the HiLo. You get what you pay for. Lexell caulk costs about eight $ a tube. It is a premium caulk.
 
I did partial ceiling repair and still have not painted it. I like the way the wood looks better than the white in mine, and wish I had the whole ceiling wood grain, not patched in. Stain it light and put a matte polyurathane on it.
 
Progress So Far...

Well, I'm pretty close to finishing the inside. I still have to trim it out and install the the remaining cabinet doors. This is one quick before and after picture. I'm planning on compiling some videos of the work in progress and lots of before and after pictures. Just thought I'd post something quick right now. Happy with the colors I chose and the decision to paint the ceiling. Right now the pictures are mixed up, but you can obviously see the before and after pictures. Still have to cut out the one vent in the ceiling. Still have a couple weeks to go and then I'll start on the outside.
 

Attachments

  • Before.jpg
    Before.jpg
    150.7 KB · Views: 27
  • After.jpg
    After.jpg
    147.7 KB · Views: 29
  • 20180809_090438.jpg
    20180809_090438.jpg
    106.5 KB · Views: 25
  • 20180809_090524.jpg
    20180809_090524.jpg
    129.8 KB · Views: 23
  • 20160306_160352.jpg
    20160306_160352.jpg
    123 KB · Views: 27
  • 20180809_090547.jpg
    20180809_090547.jpg
    114.9 KB · Views: 31
Last edited:
Very nice, I think might replace my "fancy" lights around the front window the same way you did with the more standard RV lights.
 
Very nice, I think might replace my "fancy" lights around the front window the same way you did with the more standard RV lights.

Thank you. Yeah, The LED lights are a little to bright to be in your direct line of sight. I caught myself looking at them and then seeing spots. Overhead, you obviously don't have that problem as bad.
 
Looking great. Lots of hard work under those pristine ceilings. I'm sure you are proud of your accomplishment.
 

New posts

Try RV LIFE Pro Free for 7 Days

  • New Ad-Free experience on this RV LIFE Community.
  • Plan the best RV Safe travel with RV LIFE Trip Wizard.
  • Navigate with our RV Safe GPS mobile app.
  • and much more...
Try RV LIFE Pro Today
Back
Top