You are using an out of date browser. It may not display this or other websites correctly.
You should upgrade or use an alternative browser.
You should upgrade or use an alternative browser.
Bravada
Senior Member
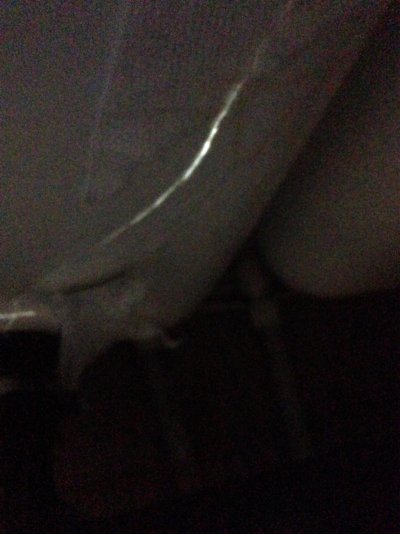
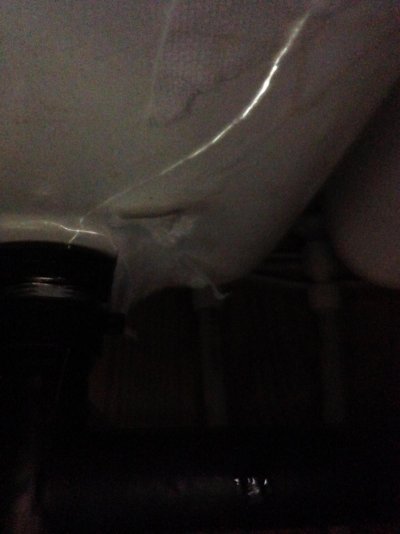
Forgive the poor quality of this photo. This is from the underside of the sink after the first layer was applied.
Application was applying the "glue" to a piece of paper towel then sticking it to the underside. I was shocked to find the amount of daylight visible.
Application was applying the "glue" to a piece of paper towel then sticking it to the underside. I was shocked to find the amount of daylight visible.
Attachments
Bravada
Senior Member
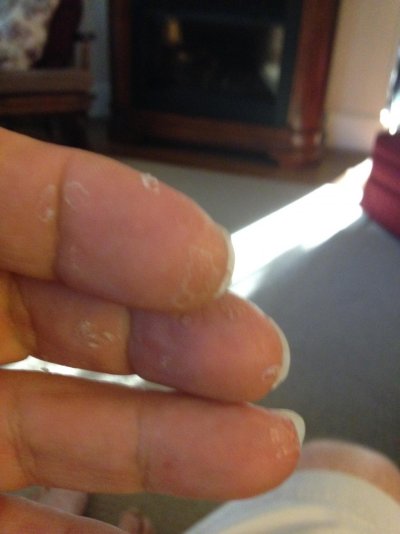
One photo shows the hi tec reusable application tool used.
The other is clearer trying to build up Seal All.
I think two more applications and it should be fine. I don't see this as a permanent fix. I will be looking for a suitable replacement bowl.
I can't beleive the extent of the cracking. That plastic sure is getting brittle!
The other is clearer trying to build up Seal All.
I think two more applications and it should be fine. I don't see this as a permanent fix. I will be looking for a suitable replacement bowl.
I can't beleive the extent of the cracking. That plastic sure is getting brittle!
Attachments
Bravada
Senior Member
Remove interior shroud there are 4 bolts to re-tighten. I believe their 7/16 just re-snug them.The AC seal is a compression seal that will loosen ( De-compress ) over time. If its flattened out to much it will need to be replaced.If you think it is to flat replace it. New Seals are cheap insurance.
I searched and searched and only found 2 bolts to tighten up. They are 3/8" and gave them two turns. I was surprised to find only two, never saw one with just two.
I am going to see If that solves the problem. If not I will put the seal on sooner.
Similar threads
- Thaihorse1
- General Repairs, Modifications, Tips and tricks
- Replies: 1
- Views: 214
- NTL1991
- Curious about Hi-Lo Campers?
- Replies: 14
- Views: 1K
- Tumblestuff
- Hi-Lo's for sale
- Replies: 7
- Views: 1K
New posts
-
-
-
-
Forum Update - We're back! Ask your questions here.
- Latest: Shaihulud2090
Try RV LIFE Pro Free for 7 Days
- New Ad-Free experience on this RV LIFE Community.
- Plan the best RV Safe travel with RV LIFE Trip Wizard.
- Navigate with our RV Safe GPS mobile app.
- and much more...


