Jeannie-HILO
New Member
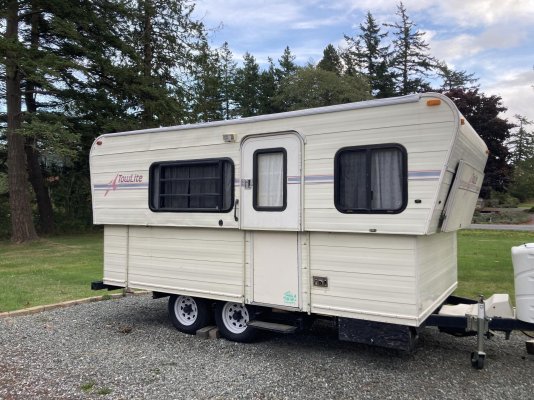
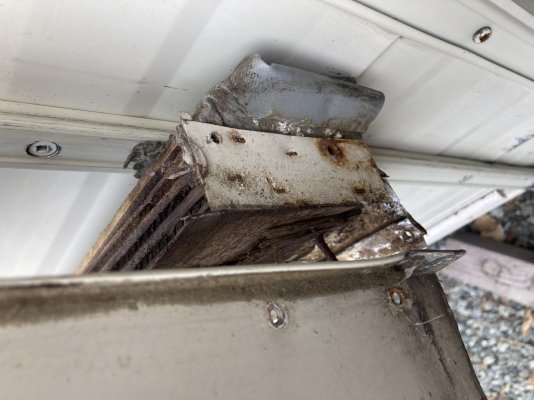
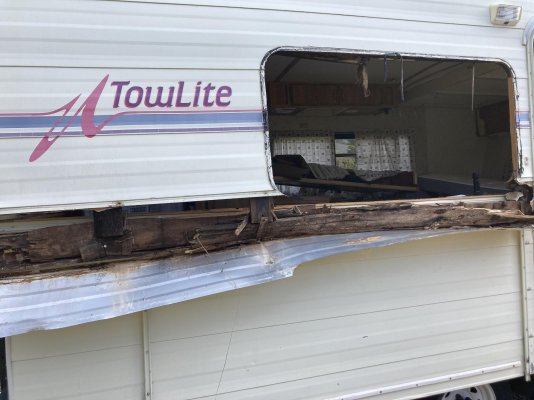
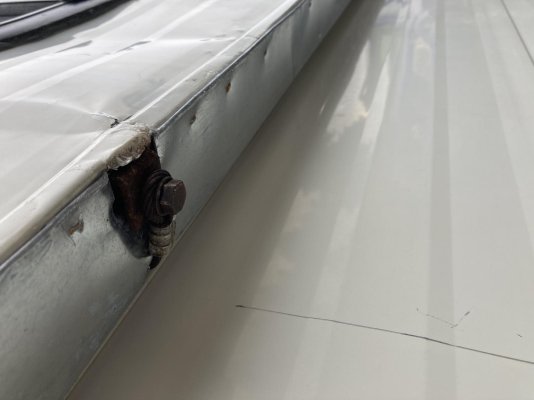
I survived but you have to love your camper to go through this. The wall was bulging because the screw that is attached to lifting cable had nothing to hold onto anymore so it was about to come through the siding.
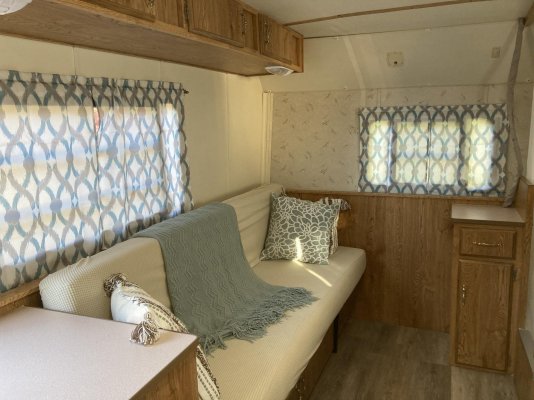
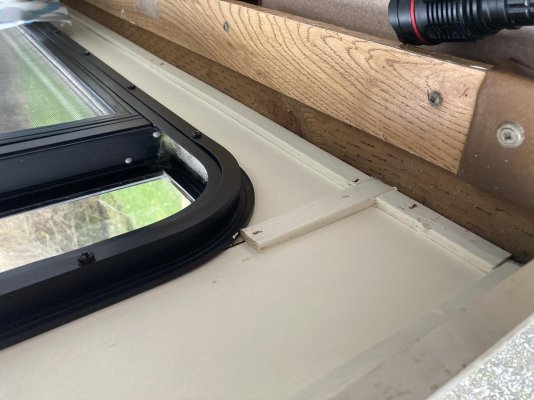
Tips. I used treated 2x4 sandwiched with 3/4 plywood for the new walls. The 2x4 is only at the bottom and the rest of the wall is 3/4 ply cut in strips and joined with tie plates. I’m sorry I’m missing some pictures. I have to say my attitude was, I either fix it or I take it to be crushed. But everything in this camper works and I love it. Many months later I finished. The interior wall is now painted 1/8” door skin with scribe molding to make it look cute where I had seems.
Tip..I made my own bottom rail metal trim ( ecuase I could not get anyone to make one. I used 2x3 galvanized 10’ trim, bending hand tool and nippers.
I could not find new foam seal so I bought leather faux strips from Amazon and 3/4 foam and stapled it to the new bottom plate.
Sorry about this post, it’s not the best but it can be done with lots of patients and love.
Attachments
-
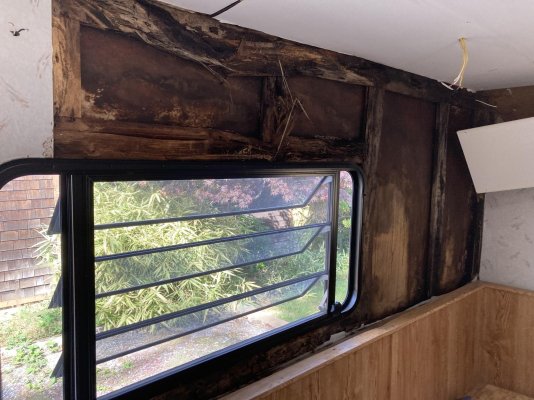 101B9410-E2FA-4A0B-94AE-F5BB03CF9671.jpg270.5 KB · Views: 67
 -
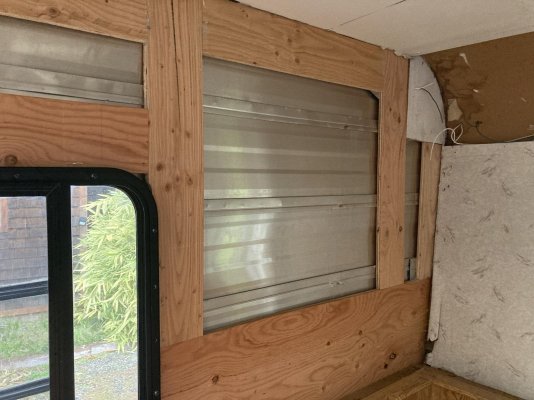 B33793B8-FB55-4DF9-9B41-3E7BAB51CE0F.jpg232.5 KB · Views: 54
 -
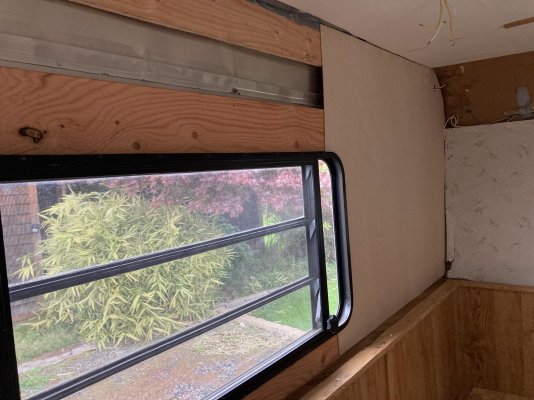 0F248532-B20A-4653-A955-6EEAB014597D.jpg275.4 KB · Views: 45
 -
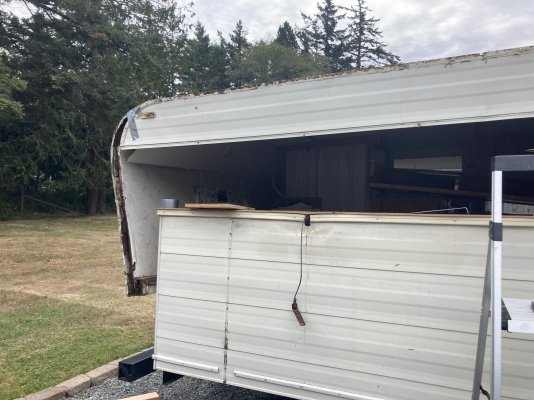 00F94901-28F1-4985-A933-D142436E1BE6.jpg249.7 KB · Views: 46
 -
 3ADD4085-F271-4627-BE74-F751A16D232C.jpg219.3 KB · Views: 43
 -
 ED65E073-02D8-4840-9201-C6A75963C578.jpg361 KB · Views: 41
 -
 2B15988C-DEB2-4C16-BEA2-AB239971496C.jpg175.7 KB · Views: 46
 -
 6EBB5199-47DE-4623-A82D-BFDB2E6734DD.jpg178.4 KB · Views: 47
 -
 B6968322-4566-4535-BA75-3E9A33E82A0F.jpg86.8 KB · Views: 48
 -
 52B50D80-6946-4F96-B509-A60B52EF6AF7.jpg185.3 KB · Views: 45

