How Hi is Enough

Bravada

Senior Member
Joined
Jul 1, 2017
Messages
144
Location
Adrian, Mi.
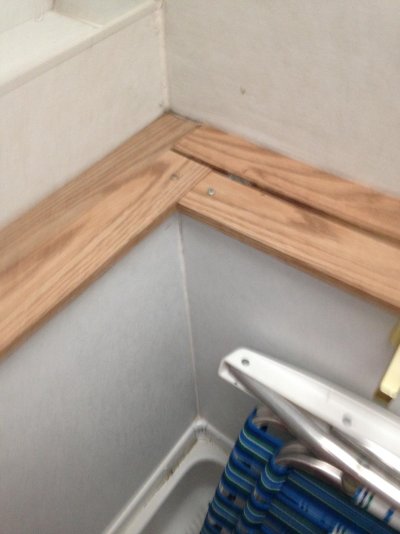
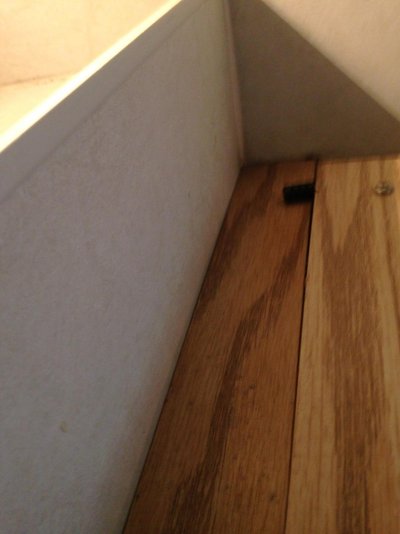
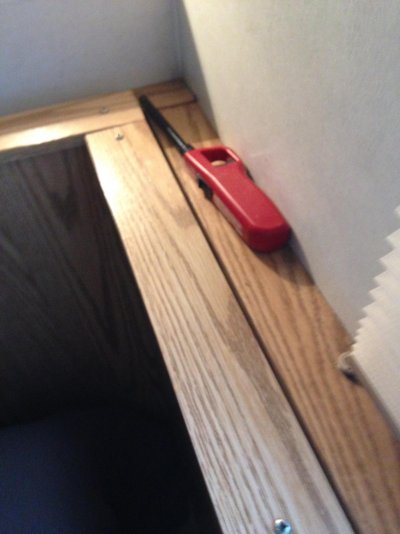
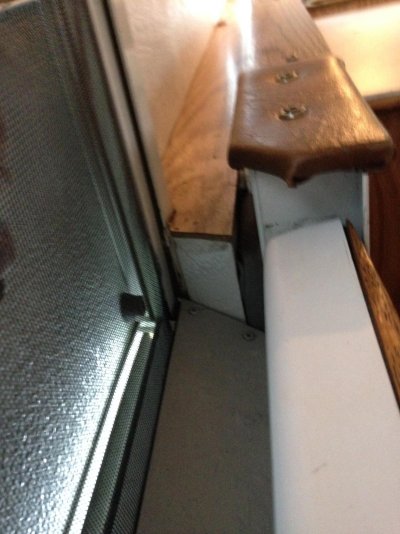
Here is what is going on. My top is just about level in the rear street side with the lower wall. And in the front the top is approximately 1 1/2" to 2" lower than the lower wall.

It's is obvious that the cables need to be adjusted (or even replaced).

Here is the Question? Where is the top designed to sit?

I see no daylight on the sides, the bulb seal is tight.
 
Here are some pics so you can visualize
 

Attachments

  • IMG_1247.jpg
    IMG_1247.jpg
    139.1 KB · Views: 13
  • IMG_1249.jpg
    IMG_1249.jpg
    119.7 KB · Views: 12
Looking at the last picture, I can see why you're worried.

But, if the bulb seal is making good contact with the lip at the top of the bottom half (you may have to take off the interior trim strip to see this), then it's adjusted properly. With the trim strip off, you should be able to see exactly where the bulb seal is.

You don't want to go higher than a good mating of the bulb seal. If you do, it can cause damage to the frame at the bottom edge of the top half due to the increased pull on the cable there. I think it can also damage the pulley or pulleys, in that cable sector, or, it might break the cable.

I damaged my top half lower frame trying to get the inside trim to match up. I was able to fix it, but it taught me a lesson.

- Jack
 
Bravda and Jack,
What is the bulb seal and how do you replace it? I can see daylight in many places through the crack between the top and bottom parts of the rig.
 
Doug, I've never had to replace the bulb seal, but there ARE threads here on how to do it.

Take the trim strip off the inside top edge of your bottom half and you will be able to see how well the seal meets the lip and if you need to adjust a cable. It's easy to remove and replace the trim strip in most cases (it's just held on by screws). The only place I have difficulty is in the bathroom. As I remember, it's under the sink counter top and I have to use a right angle screwdriver.

- Jack
 
Doug, In regards to the body seal, HiLo originally used a round piece of foam encased in a thin vinyl plastic sleeve. These tore easy after a bit of time. I can't remember what year, but HiLo replaced the flimsy foam seal with a rubber bulb seal. They are similar to the door seals used in your truck. They are much stronger and better than the original seals. For a TEMPORARY fix, you can use copper water pipe insulation. Use the foam insulation for 1/2" pipe. It comes in 6' lengths at any hardware or big box store. Once set up at your campsite, just stuff them from the outside up against your existing seal. This will keep out the air leaks, dust, and BUGS. Better to remove them before lowering as they will either fall out or roll into the inside of your unit. You could re-insert them once the top is down to keep out the road dust and such, depending on how bad your original seal is. Happy camping..........

Bob
 
Thanks Bob.
I think my 1999 TowLite had the original foam encased seal which is mainly gone. I'll try the 1/2" pipe foam insulation.
I wonder if any of the polyurethane or other foam spays are both adhesive and non-dense enough to allow spraying and then lifting and lowering?
 
Replacing seal between halves

Do a search for gasket replacement. DH has done this repair. Tomorrow when I am not so tired I will give you a couple links and places to buy bulb seal. Just cam back from a weekend of camping.
 
Why not cut a water weenie in half (Bigger then the 1/2 " pipe foam) and use 2 sided tape to attach flat side. I use my old ones for jug lining . They last about 3 years 1 year for grand-kids 2 years for fishing. Not getting any sunlight attached to trailer they might last longer.
 
The pipe foam comes in larger diameters for 3/4" and 1" pipe. The pool noodle (as I call them) is a good idea MrEd. Another use for pool noodles is the microwave. It keeps the carousel tray from bouncing around and having to be realigned each time you camp. Just measure from top of m/w to the carousel and add about 1/4". Slip it in and it will hold the carousel tray in place.

Bob
 
Bulbseal replacement

This post was written by Sam Shields a HiLo service advisor. Outline for replacing roof gasket 4-3-2010. Or use the link provided for cable replacement .3-3-2010. This explaines how to break the two halves apart. The bulb seal is 3/4 hollow pbulb seal with a 1"stem. Order epdm P bulb seal from McMaster Carr. DH said he used the heavy gague aluminum that comes in a roll. It is used to wrap windows and doors. It is white on one side.He cut the old seal off ith an exacto knife. Then you put the aluminum over the base of the bulb seal and staple with 1/4 narrow crown staples. I remember helping hold the seal as we worked the length of the trailer. Best of luck with this repair.
 

Try RV LIFE Pro Free for 7 Days

  • New Ad-Free experience on this RV LIFE Community.
  • Plan the best RV Safe travel with RV LIFE Trip Wizard.
  • Navigate with our RV Safe GPS mobile app.
  • and much more...
Try RV LIFE Pro Today
Back
Top