My hi-lo has jalousie windows, and is nearly 30 years old.
Only one regulator(turn knob to open) is not functioning.
***remember you are working with aluminum, use finesse not muscle !!!!
1. remove the window above the crank. Remove the 2 screws on each side of the window, 4 total. Pull the window out- keeping on same level as other windows. save window and screws. Take off the c-clips that connect the arms to the window and pop off so window moves freely. Remove the screen.
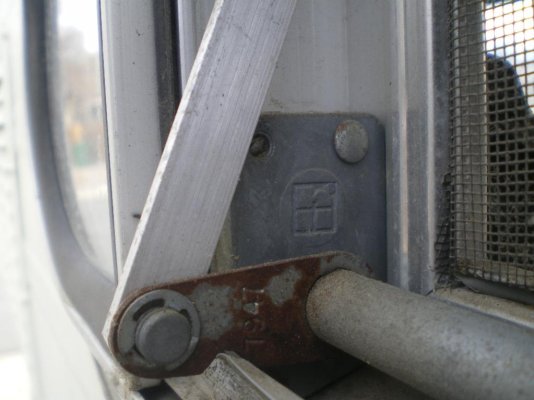
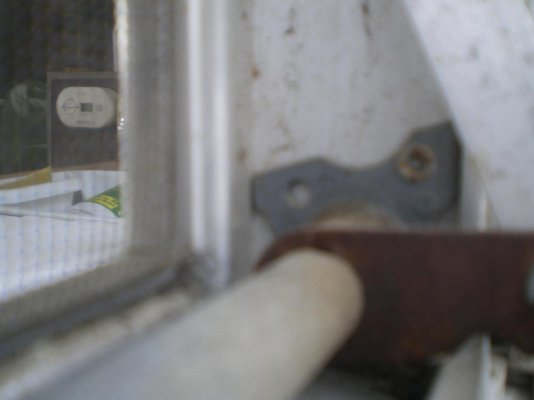
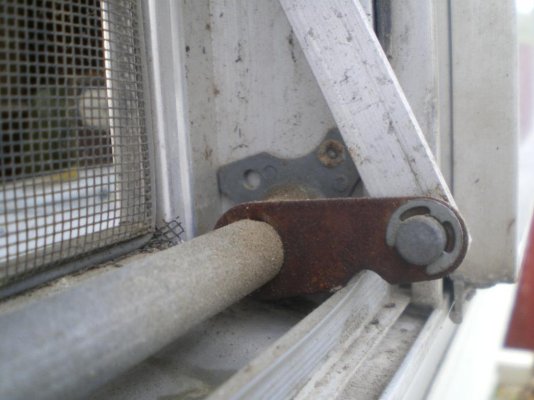
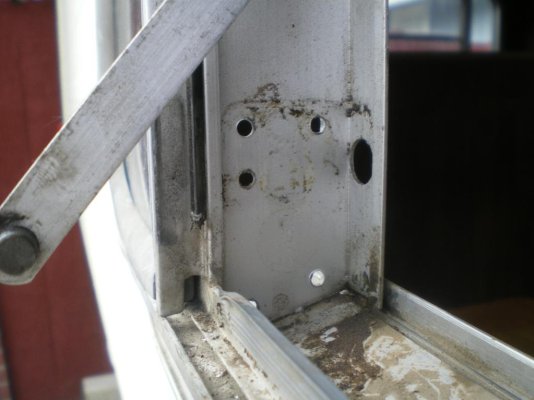
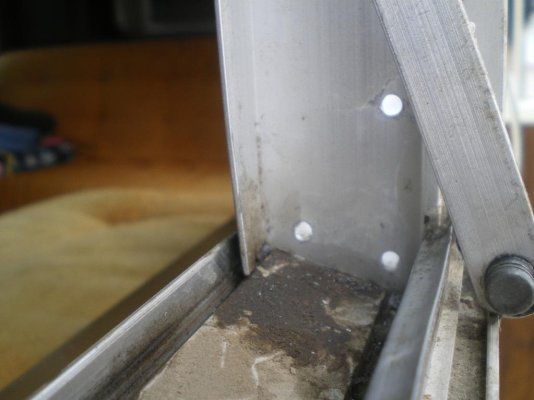
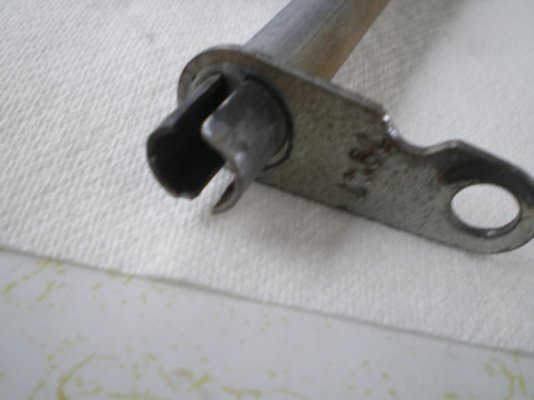
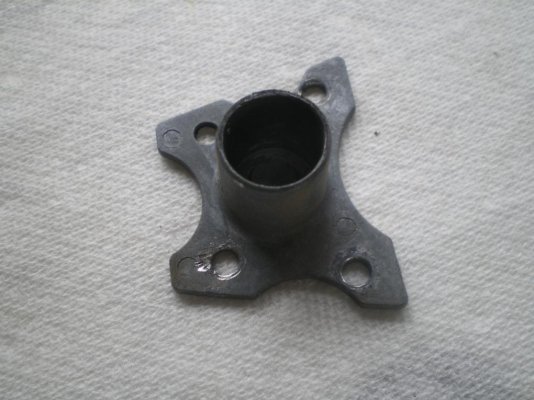
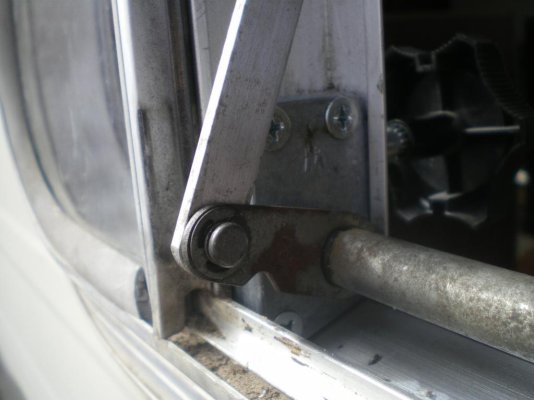
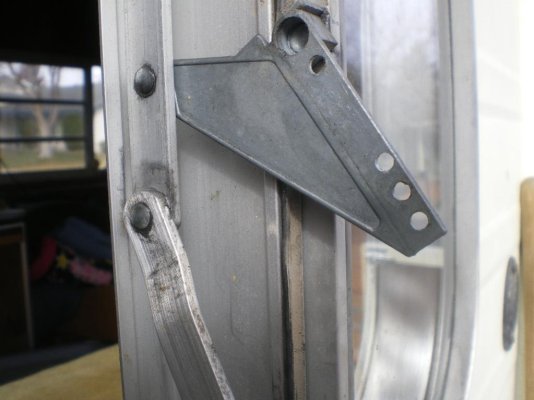
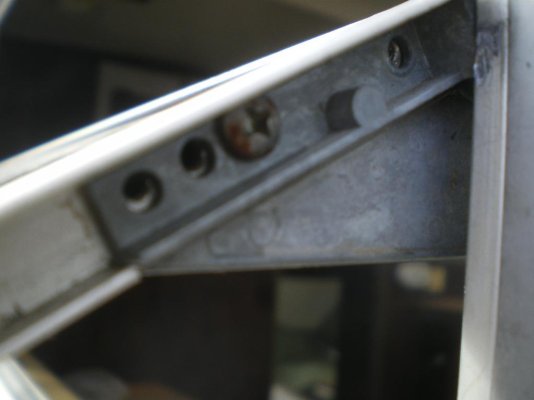
2.Drill out the rivet heads with a drill and a 1/8" bit. You don't want to drill through anything but the head of the rivet, approx 1/8" +/-. The rivet has a hard head with no ability to dimple for drill bit. Just do the best you can to keep it centered. You are not going deep anyway. The are 3 rivets on the regulator and 3 on the pivot part on the other end of the torque bar.
3.Use a small wood chisel and hammer , yes a wood chisel, 1/4" / 3/8" to pop the rivet heads off. I laid mine flush with the aluminum stile to shear the head off.
A wood chisel is thinner and has a sharper kerf angle so it can get under the rivet head.
4.Use a small nail set or nail to push the remaining rivet shaft out. A small hammer may be necessary. When using a hammer near glass windows, remember they can/will break, so don't be to aggressive.
So now you have rivets out of BOTH ends of the torque bar mechanism. The window moves freely.
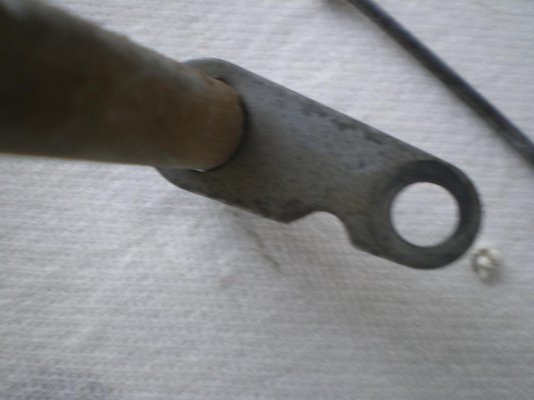
5.You will need to move, vertically, the non regulator plug side that has the bar inserted into it. A small prybar works well for collapsing the fittings. Don't tweek the frame anymore than necessary nor bend it. Lift in the bar and fitting to its highest distance will allow removal from the channel. It is a tight fit and some movement of the frame is OK. Pull out the torque bar.
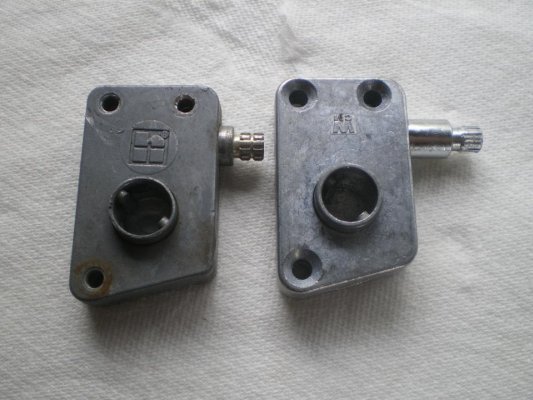
6.The regulator can now be removed by turning sideways and up.
Clean and grease lightly at pivot points.
I used #8 x 1" sheet metal screws to re-install regulator, and #8 x 3/8" for the small end.
Install is opposite of removal.
I purchased my regulators and new knobs from
mobilehomepartsstore.com
delivery was quick and price was reasonable.
Mine were #703126 regulator, and 703106 knob.
The regulator has a shaft that is longer than the original in my window and the new know was a shallower profile so it all worked out.
I also ordered an extra set for the next repair, whenever that may need to be done.
I hope this didn't confuse anyone. It is a very easy and rewarding repair!!!!!

