Scotty-HILO
Advanced Member
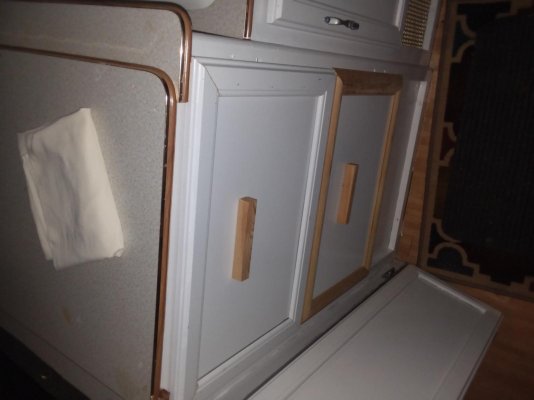
Here's an idea for a very light-weight and easy-to-build conversion to the wardrobe closet we did in our 1709T. This started out as a "concept" using the PO's failed attempt to make drawers (they fell apart). But I used his drawer frames after leveling them and adding a rear ledger. This is not my finest cabinetry work, but it does work really well and it is very easy to make.
I wanted to make something that was very light-weight yet sturdy so as to hold stuff. I was going to make drawers but I thought they'd add unneeded weight and may also be a little awkward to use what with the door closing off the aisle within the trailer. So we started searching for some plastic containers or file cabinets, etc. baileys08 had a great idea with some hanging travel/storage shelves. While searching for ideas at wally world we found some nifty under-bed storage bins. Now this would work in the rather odd size of that 27”X21”X24” wardrobe.
These bins are very lightweight being made of fabric with some backing board so they are stiff. They are 26”X16”X5” and I thought they’d slide right in the wardrobe cabinet. One on the floor and two more on shelves I’d make out of the old drawer frames…about 8” of space for each container. There are a couple of really cool attributes to this concept. The bins can be loaded at the house and they carried out to the camper all loaded up; they are very lightweight, they have a plastic cover that zips closed if you wish; they can be removed with ease inside the trailer and used to dress elsewhere; they bottom one we’ll use for shoes so just pull it out and find your “lost” shoe.
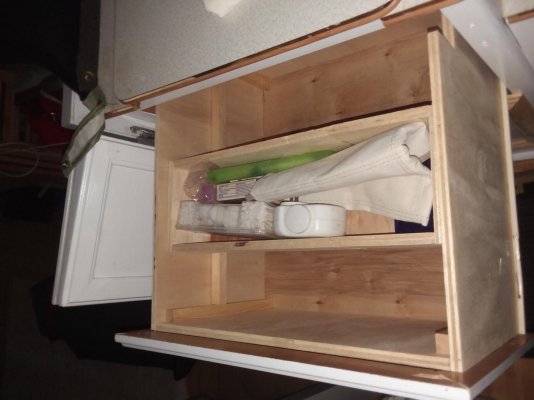
So here’s the project. I made most of this from scrap wood I had around the shop. The shelves are only ¼” thick and I routed a little edge for the front to stiffen it as well as to keep the little wheels from rolling up against the cabinet door. The top shelf is made from oak plywood and the bottom from luan. The P.O. had (unfortunately) screwed a hook and eye into the cabinet door to keep it closed and we’re using that rather than filling holes. Once I straightened out his ledgers, I cut the shelves, added a ledger to support the rear of the shelves, sprayed lacquered them and put them into use. The shelves simply sit on the ledgers; they are tight enough to not come loose and if I find this implementation is not sufficiently sturdy or that we don’t like it, it’ll be easy to remove. What you think.
Attachments
-
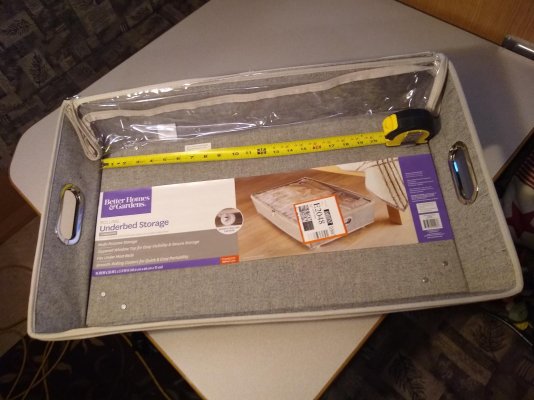 1 Underbed Storage Bin.jpg215.7 KB · Views: 27
 -
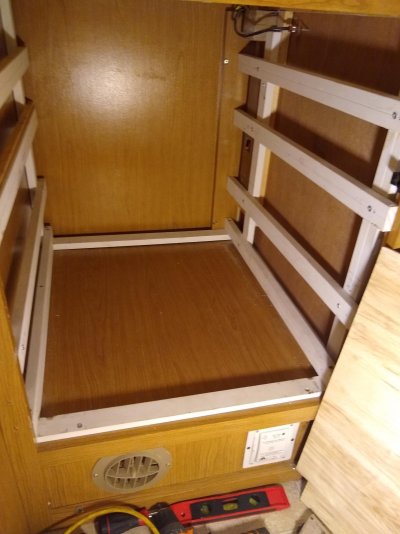 2 Old Drawer Starting Point.jpg159.9 KB · Views: 20
 -
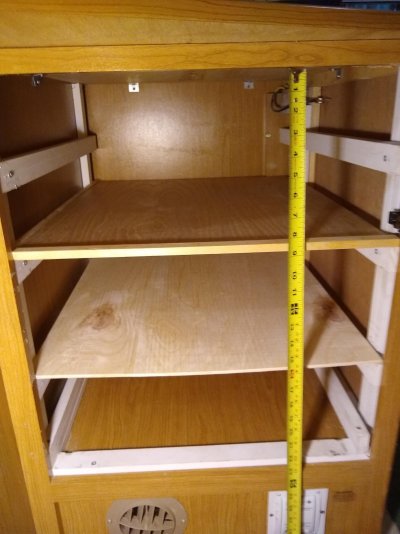 3 About 8 Between Shelves 3.jpg167.2 KB · Views: 18
 -
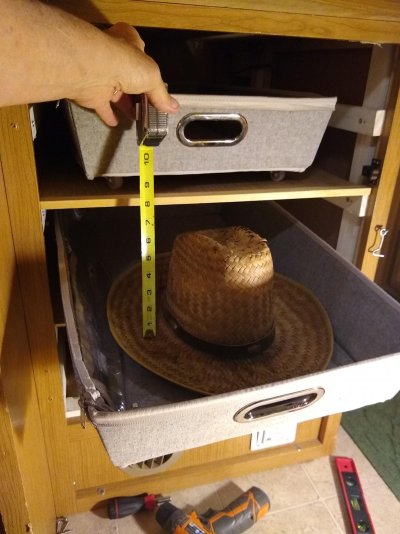 4 Fitting the Bins 2.jpg192.2 KB · Views: 18
 -
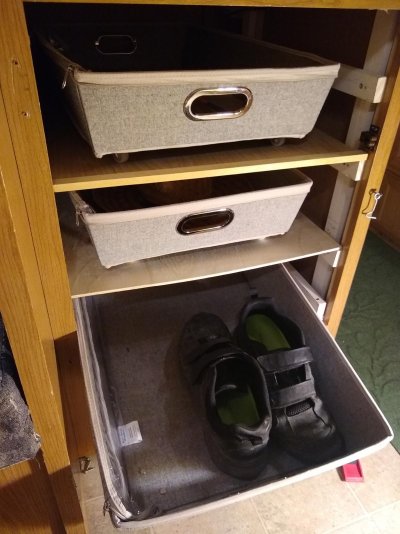 5 Fitting the Bins 3.jpg213.3 KB · Views: 12
 -
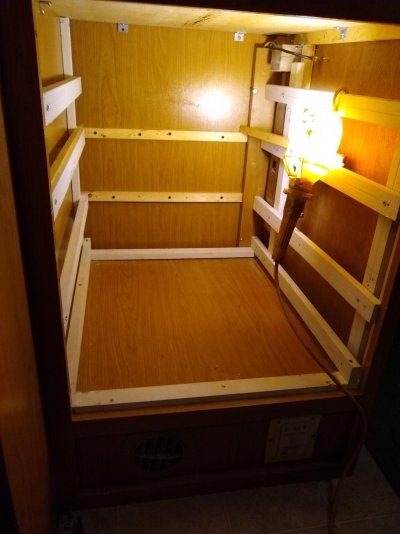 6 Fitting the Rear Ledgers.jpg136.6 KB · Views: 15
 -
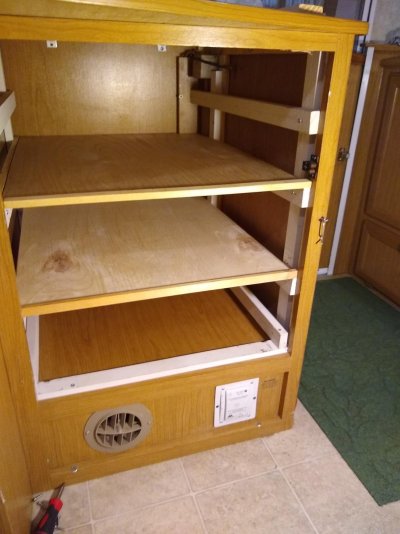 7 Shelves Finished.jpg164.7 KB · Views: 13
 -
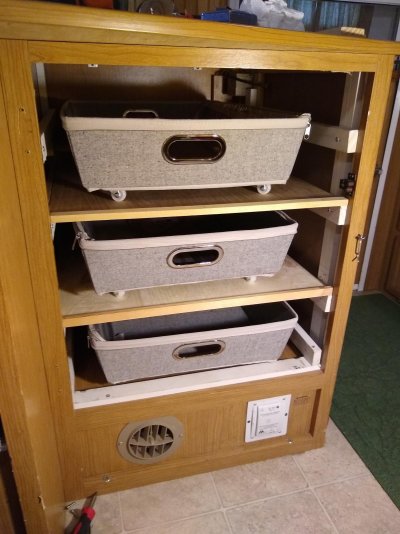 8 Shelves Finished with Bins.jpg210.5 KB · Views: 16
 -
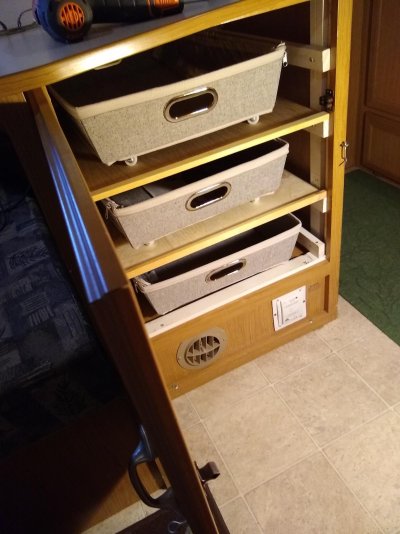 9 Shelves Finished with Bins and Door.jpg174.5 KB · Views: 22
 -
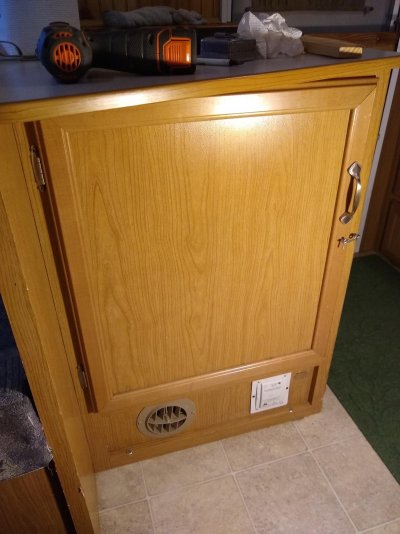 9a Shelves Finished Door Closed.jpg191.6 KB · Views: 21

