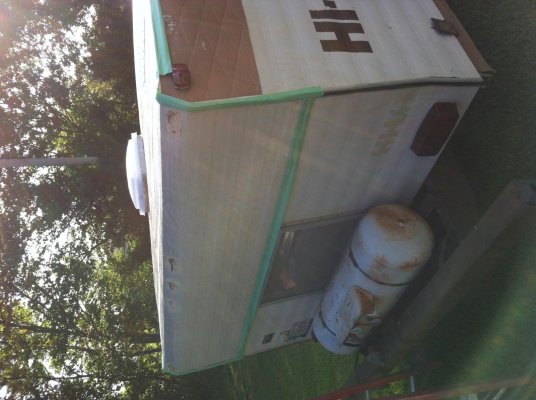
1977 Hi-Lo

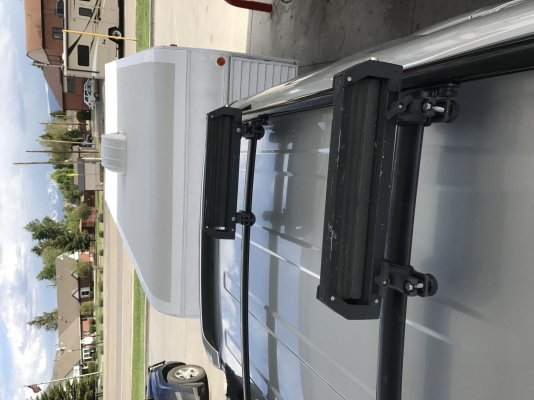
Nick, you're hardly a rookie after everything you've done! And I agree with you about EternaBond tape. That stuff is truly "eternal". I recently added a third solar panel to the top of my trailer and had to remove some of the tape I used to hold the other two down to do it. What a lot of work to get it off! You almost need the strength of a 500# gorilla to do it. The glue is super powerful. The tape holds together during removal too, it doesn't fall apart like old duct tape.

When you want to upload pictures, you can't use the "Quick Reply" box, you have to click on "Go Advanced". Below the text entry box, you should see an area marked "Attach Flies" and in that, click on "Manage Attachments". That should open a "PopUp Window" where you can search for and select the file(s) you want to upload from your PC. If you don't get the PopUp window, you MAY have "Popups Disabled" in your browser. If it still doesn't work, perhaps your firewall is preventing it?

Anyway, your trailer looks absolutely super! Great work!

- Jack
 
Doh! I did "go advanced", but just totally missed the "Attachment" area. Here's a test:

edit: awesome! it worked. shame though it keeps rotating my photos.
 

Attachments

  • 2017-06-07 17.01.02.jpg
    2017-06-07 17.01.02.jpg
    171.1 KB · Views: 21
Doh! I did "go advanced", but just totally missed the "Attachment" area. Here's a test:

edit: awesome! it worked. shame though it keeps rotating my photos.

Cool! My "vertical" photos get rotated when I upload them too. I don't know how to fix that. I guess the only solution is to hold the camera horizontally, or, rotate the monitor screen 90 degrees :)

- Jack
 
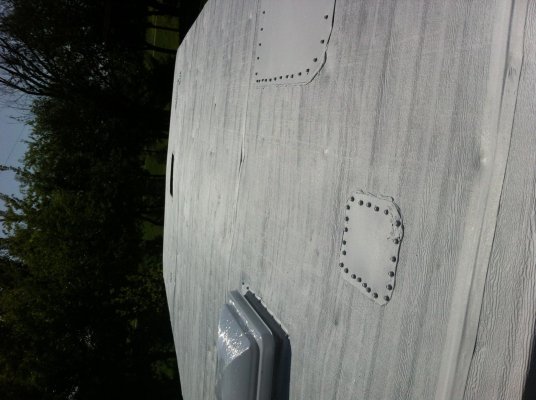
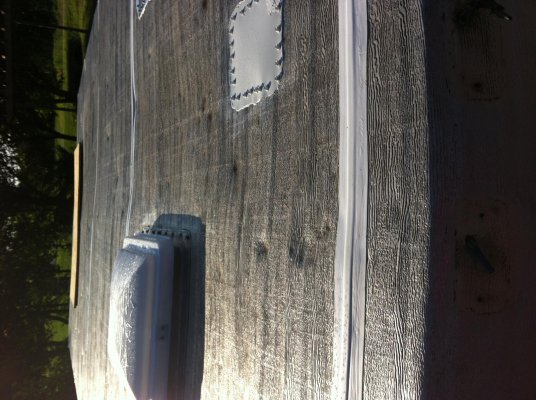
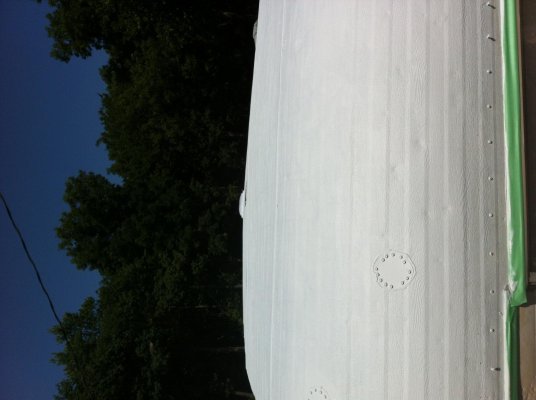
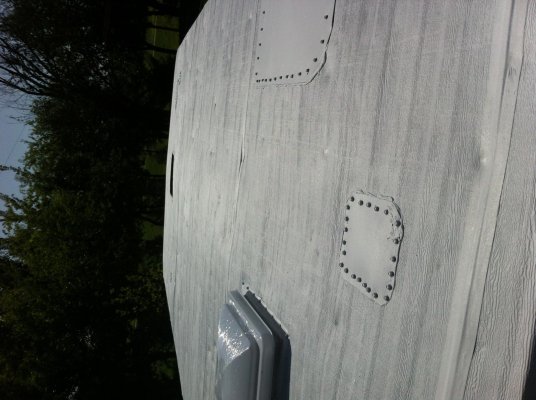
I've used lap sealant before. My screws are ran thru bead. Always had good luck with it. Also I'm using Anvil Primer and fibered elastomeric roof coating. Used it before on a rental house trailer and worked great. Would take a lot of Eterna Bond there are places in my roof especially in the front that look like somebody walked on it with golf shoes. Over the years the aluminum has been beaten up from being pulled down the road. Needs a sealant over entire roof.
 
Gutter rails get butyl and a trip to the car wash tomorrow. Sealant came today still waiting on primer. Longer it takes more prep for the roof. Patched some more holes today. Some big rock holes on the front. Replaced Butyl under front corner rails today. My wife needs to make a decision on where she want's the tv front or rear so I can replace the antenna (its moving to the other side). Going to use it for radio also. Anything attached to roof will have a wood backing plate weather its attached on top or from below not to thin aluminum or wood paneling. Wasn't much holding antenna's on. Another hot day in Oklahoma but at least today had a breeze.
 

Attachments

  • IMG_1505[1].jpg
    IMG_1505[1].jpg
    315.2 KB · Views: 6
  • IMG_1506[1].jpg
    IMG_1506[1].jpg
    428.9 KB · Views: 6
  • IMG_1507[1].jpg
    IMG_1507[1].jpg
    254.5 KB · Views: 9
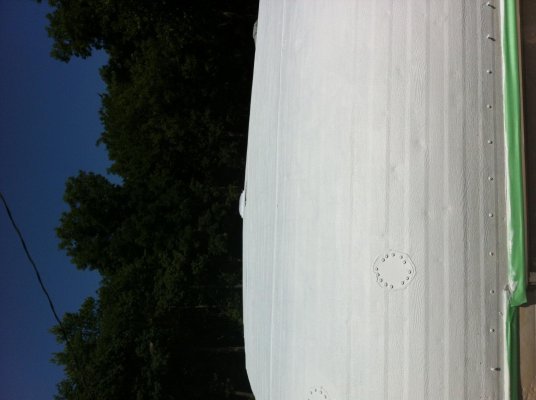
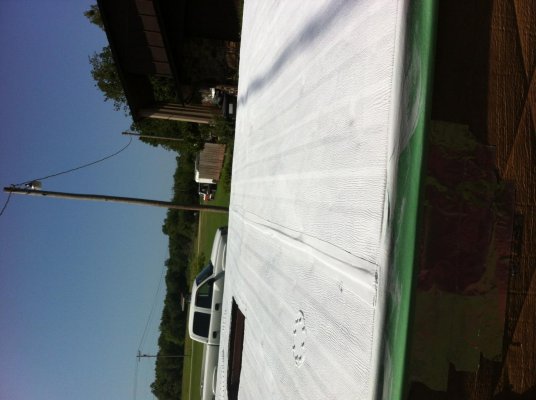
Took Nicks advise and taped my seams. 1 coat of primer on.
 

Attachments

  • IMG_1515.jpg
    IMG_1515.jpg
    266.4 KB · Views: 6
  • IMG_1512.jpg
    IMG_1512.jpg
    196.4 KB · Views: 6
  • IMG_1510.jpg
    IMG_1510.jpg
    307.7 KB · Views: 6
Looks like the trailer is patching up really well, nice work.

I'm considering some creative uses for etenabond tape on my 2000 rebuild too - you're right. It just works.
 
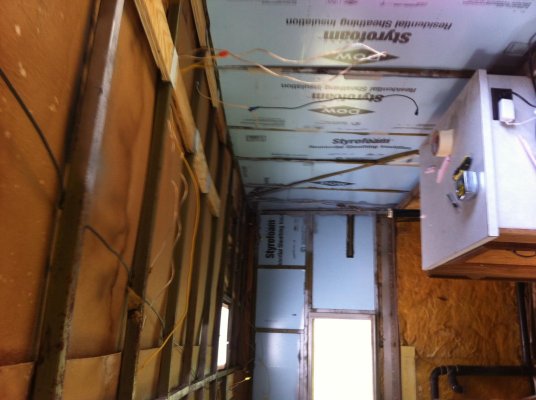
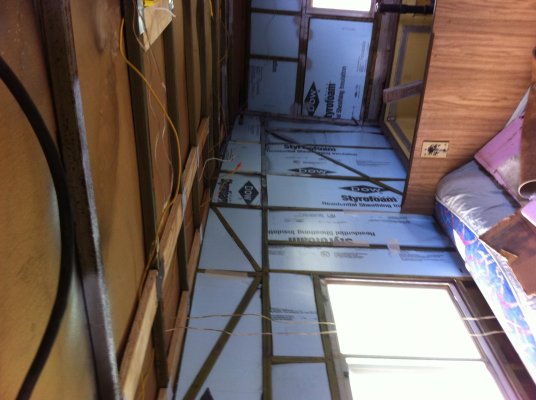
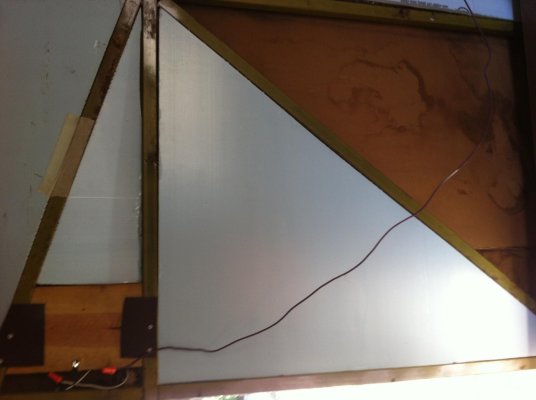
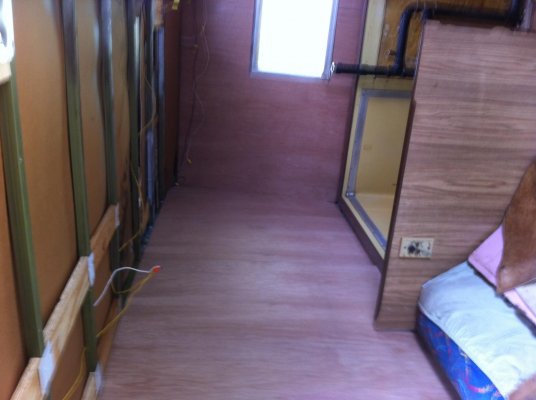
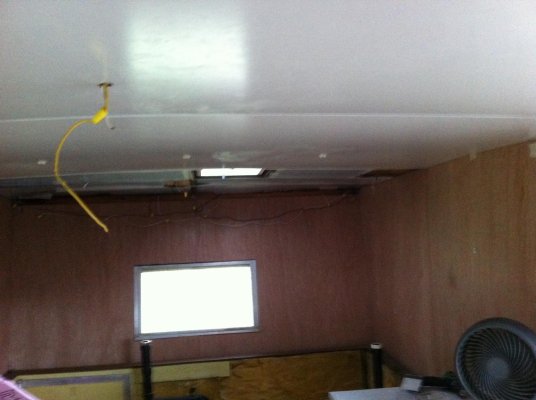
Roof done so I've moved inside. I managed to slide the paneling between the frame and pop it back into a guide on the top brace. Used Dow 3/4 inch foam for the walls ( and some Owens Corning pink I had laying around) still need to finish securing the paneling. I say paneling but its really 1/8 utility panels from HomeDepot that you can stain or paint. 10 bucks a sheet. Splinters unless you can cut it with a box knife. Cheap and I think it looks retro what could be better. 3rd Pic is the wood put in to secure an outside light above the door.I'll need to extend the cabinet over to the door to hide these wires. Wood between the top bracing is for lights and upper cabinets. I had Lowes rip a 3/4 inch piece of plywood into 3" strips cut to fit. Space between every rail is different, lots of measuring. I secured the wood to the rails by riveting pieces of aluminum guttering material to the beams.Then I stapled the wood to the aluminum. Why are my pics sideways?
 

Attachments

  • IMG_1535.jpg
    IMG_1535.jpg
    176.8 KB · Views: 18
  • IMG_1536.jpg
    IMG_1536.jpg
    180.6 KB · Views: 17
  • IMG_1537.jpg
    IMG_1537.jpg
    113.7 KB · Views: 16
  • IMG_1538.jpg
    IMG_1538.jpg
    145.3 KB · Views: 20
I think the sideways orientation is an artifact of the forum coding. It probably wants all pictures to be in "landscape mode". You took yours in "portrait mode" (camera on its side).

Paneling looks good, sir! Did I understand that you slid the paneling up through the gap between the halves, rather than taking it in through the door? That was clever thinking, since it allows bigger sheets probably.

What are you planning to use on the ceiling?

- Jack
 
That's looking really nice. I really like the bracing that is in those older HiLo trailers after going through my more modern 2000 classic. There's some real structure there, and you're doing some really nice work with it all too.
 
Used 48" by 48 " panels inside They flex a lot so I was able to get them lined up. It took a little bit of trimming on the back and front panels to get them to fit (It slopes to the rear and rounded corners). Once you get them in they can be encouraged to slide back and forth.(apiece of wood and a rubber mallet). White board for the roof. Hoping to use Sequentia 1.42-in x 8-ft Vinyl Connector Wall Panel Molding to tie the white board together. I tried it on the panels in tan for the sides didn't like it bad fit. A good fit for the white board though. I hope it will give it a clean look.
 
Never posted my new roof.
 

Attachments

  • IMG_1512.jpg
    IMG_1512.jpg
    196.4 KB · Views: 7
  • IMG_1515.jpg
    IMG_1515.jpg
    266.4 KB · Views: 7
  • IMG_1513.jpg
    IMG_1513.jpg
    204.6 KB · Views: 7
  • IMG_1511.jpg
    IMG_1511.jpg
    232.6 KB · Views: 8
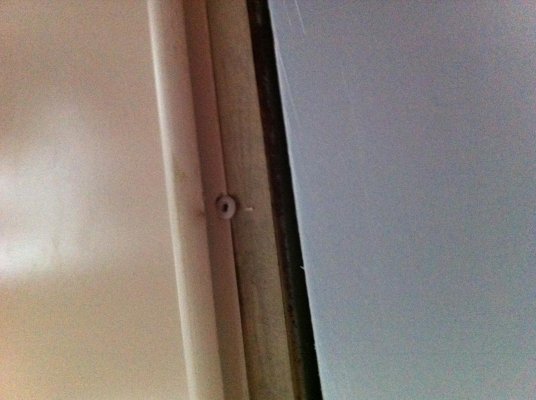
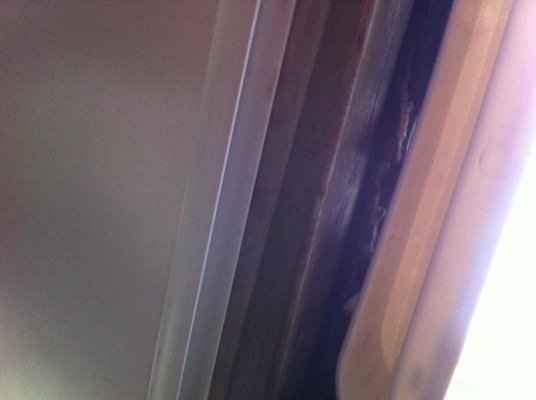
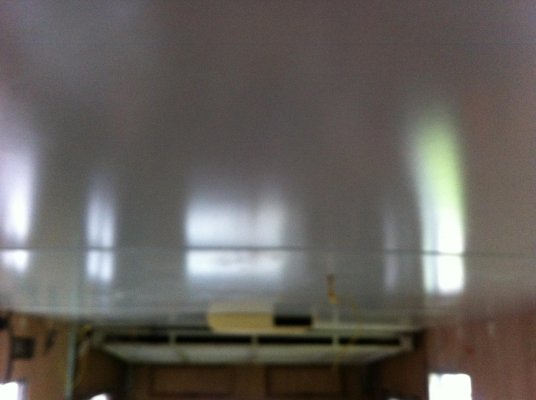
I riveted the Vinyl Connector Wall Panel Molding To the steel frame 88" from 1 side to the other. Slid the whiteboard in (88" x 48") Screwed the wallboard down with plastic rosettes every 2 feet along next 2 beams slid a piece of 88" vinyl on opposite side and riveted it down repeat
 

Attachments

  • IMG_1542.jpg
    IMG_1542.jpg
    205.9 KB · Views: 13
  • IMG_1543.jpg
    IMG_1543.jpg
    273.9 KB · Views: 12
  • IMG_1544.jpg
    IMG_1544.jpg
    201.1 KB · Views: 12
  • IMG_1541.jpg
    IMG_1541.jpg
    194.5 KB · Views: 14
  • IMG_1545.jpg
    IMG_1545.jpg
    227 KB · Views: 9
Bought a 36" wide raw wood kitchen base cabinet from HomeDepot cut 2.5 " off the back and I now have part of my bathroom cabinet. Built the sink cabinet out of plywood just need to cover with paneling. The old Formica will be replaced. When I remodel kitchen. It is humid in Oklahoma this year.
 

Attachments

  • IMG_1551[1].jpg
    IMG_1551[1].jpg
    166.9 KB · Views: 9
  • IMG_1550[1].jpg
    IMG_1550[1].jpg
    112.4 KB · Views: 6
Very elegant, sir!

I really enjoy seeing the great remodeling work that our members put into our Hi-Los. It gives me faith in humanity that some things can be improved and not just discarded when they need maintenance.

- Jack
 

Try RV LIFE Pro Free for 7 Days

  • New Ad-Free experience on this RV LIFE Community.
  • Plan the best RV Safe travel with RV LIFE Trip Wizard.
  • Navigate with our RV Safe GPS mobile app.
  • and much more...
Try RV LIFE Pro Today
Back
Top