2000 24' Classic Rebuild

my opinion Paul Mc Cartney would say leave/let it be. lol.
for now.
to much labor, and work now, then you have less time to go camp, do it this winter, jmo :) mike
meant in good taste also. you do such good work so fast tho idk maybe ye can get er done idk. me myself I would take off and let it go till fall/winter. just me tho understand? I have so much work in mine I am just tired of not getting it loaded, and going. tired of working on it and I wanna run!!! :)
 
Last edited:
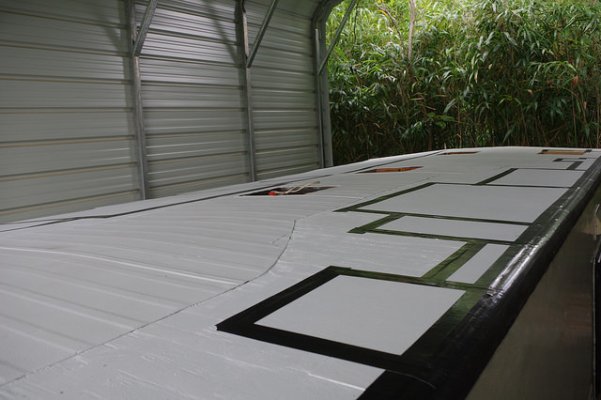
Well, the roof is getting closer - if it weren't for the other wall I'd go ahead and put the waterproof skin down on it. But for now, the decking is in place and the old exposed decking sanded down:

34391992704_874cecc4ca_z.jpg
[/url]IMGP3824 by Lineswest, on Flickr[/IMG]

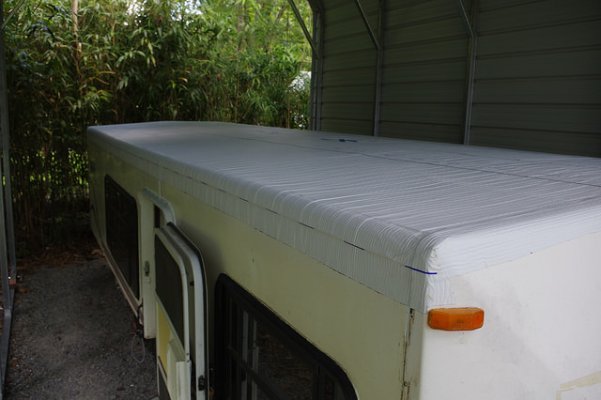
and the long-view
IMGP3825 by Lineswest, on Flickr

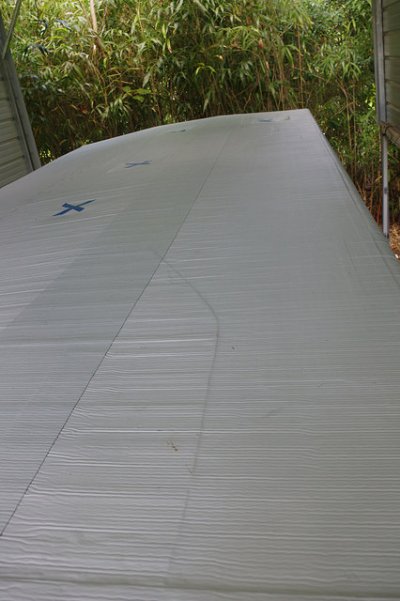
And now painted with some white mold-killing primer, just to make sure ...

IMGP3827 by Lineswest, on Flickr

So up next is taping up the seams in the roof joints but before the final roll of outer layer can go down there's that little question of what to do with the damaged driver side wall (see above posts). Onward and upward I guess.
 
I have so much work in mine I am just tired of not getting it loaded, and going. tired of working on it and I wanna run!!! :)

Yeah - for sure that thought has crossed my mind! I'd love to roll the new roof down on it and move on to cleaning up the interior. I'll start getting to know the problem a little bit better in the near future ...
 
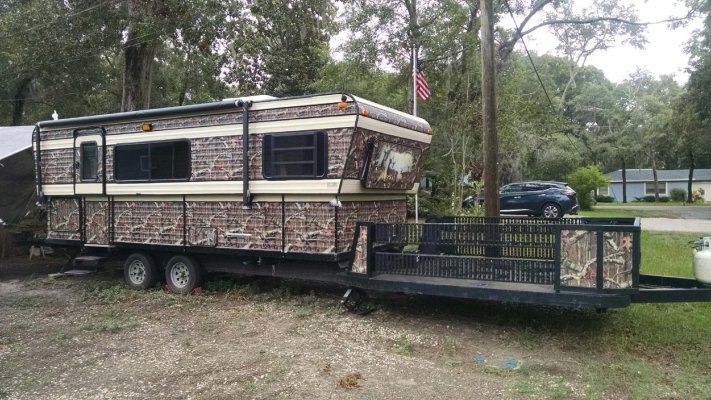
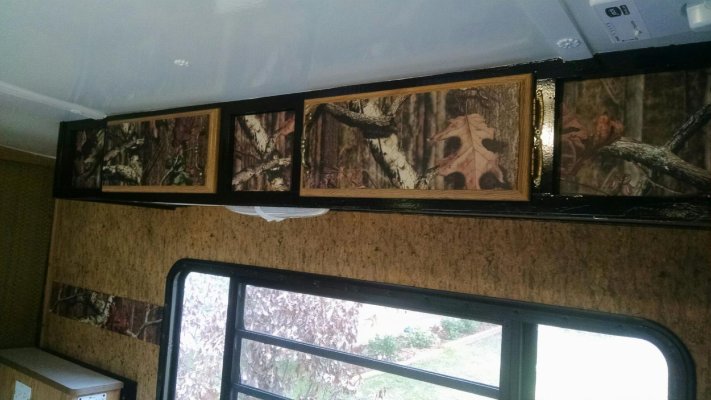
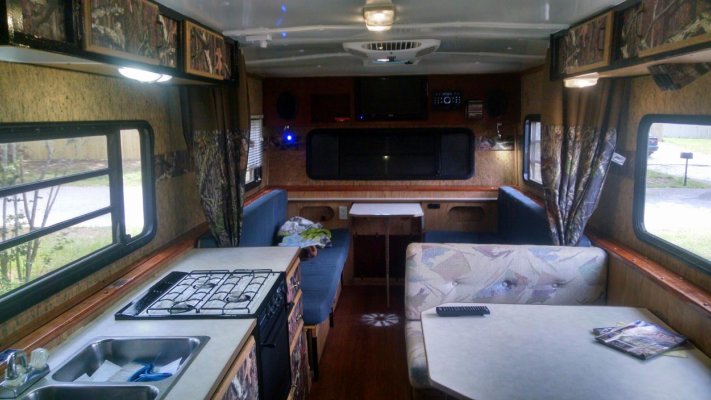
I know the pain my camper was just as bad but here it is now,but not completey done cruising down hill though,Good luckand enjoy the reward!
 

Attachments

  • IMG_20170607_180334092 (1).jpg
    IMG_20170607_180334092 (1).jpg
    335.7 KB · Views: 48
  • IMG_20170611_133901499 (1).jpg
    IMG_20170611_133901499 (1).jpg
    174 KB · Views: 38
  • IMG_20170611_133557138_HDR.jpg
    IMG_20170611_133557138_HDR.jpg
    171.1 KB · Views: 35
Rebel - Wow! How long is that thing? AND, what's the tongue weight?

That's a hellofa mod!

- Jack
 
On to the final side wall now, it's worse than I thought and somehow still wet! under the window.

Oh well, here's a nice shot of the thing vacuumed up and looking like maybe it will all come together. Once the wall gets removed it won't seem quite so close.

IMGP3829 by Lineswest, on Flickr

Now I've got to decide whether to cut the fiberglass outer wall and introduce some seems or try and rebuild this all from the inside. Any input?


Down comes the oven exhaust:
IMGP3832 by Lineswest, on Flickr


and the cabinet:
IMGP3837 by Lineswest, on Flickr

and the window ... nice damage there on that metal beam:
IMGP3841 by Lineswest, on Flickr

but I am thankful that the wooden beam seems to be more or less intact:
IMGP3843 by Lineswest, on Flickr

which is more than can be said for the wall itself:
IMGP3847 by Lineswest, on Flickr
 
Great job

You have done so much that I would advise you to do the final wall repair and don't quit. You can do the repair from the inside. Rip out all the layers and build the wall back up. I give you lots of credit for a beautiful job. I can really appreciate all the time and hard work. We did a major rebuild on our 1990 classic. It will be so worth the time and effort. Our has held up with no leaks for years. MY motto "do it once and do it right".
 
You have done so much that I would advise you to do the final wall repair and don't quit. You can do the repair from the inside. Rip out all the layers and build the wall back up. I give you lots of credit for a beautiful job. I can really appreciate all the time and hard work. We did a major rebuild on our 1990 classic. It will be so worth the time and effort. Our has held up with no leaks for years. MY motto "do it once and do it right".

Thanks Sam that makes sense. On the door side the whole thing was so delaminated and destroyed it was easy to just remove it all. On this side there are still parts of the wall that are solid ... just not the ones shown above.

And thanks for the encouragement too - I keep telling myself to take the long view
 
A few pictures of the ongoing work. Out of respect to the forum moderators (thank you for your work!), I'll load a couple up directly here. Some additional photos are over on Flickr: https://flic.kr/s/aHskGjjPyn

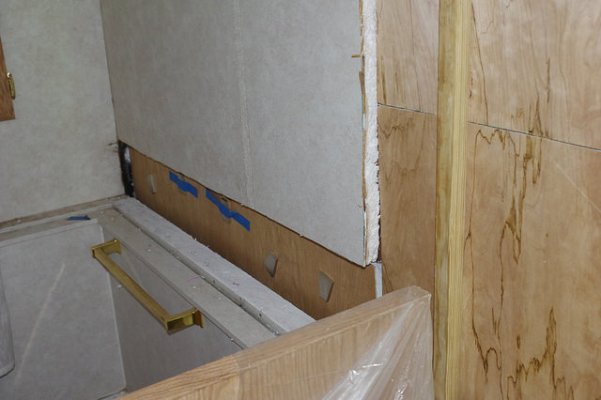
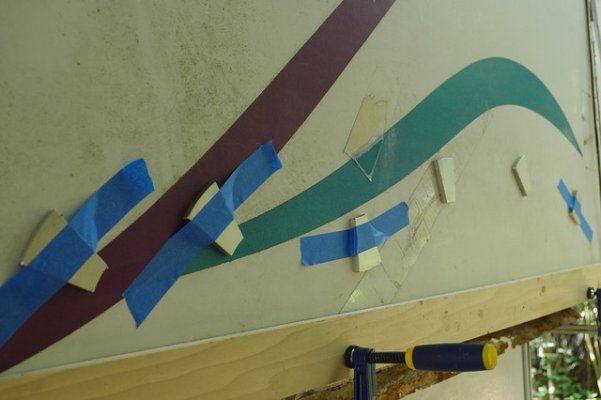
A couple of quick notes: I used some rare earth magnets to hold the delaminated outer fiberglass sheet to some new 3mm plywood. That kept it nice and tight while the glue set. Then the foam was added as before, followed by the final interior wood sheeting.

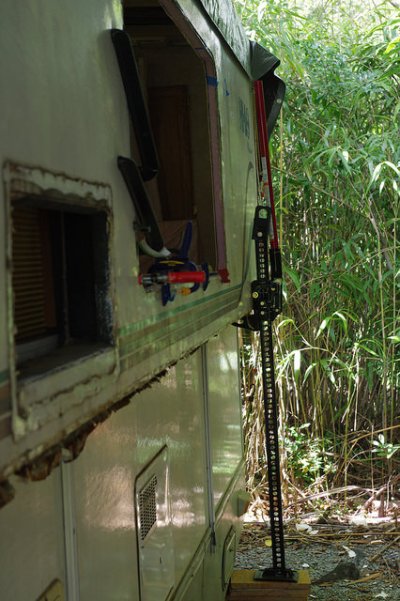
You can also see a Hi-Lift in operation. I had to detension that rear cable to remove twist from the lifting beam and get the wall straight for gluing. Hi-lifts work really well for that I found.

I'm working on the roof (again) now. Hopefully some new material down on it soon.
 

Attachments

  • 35480910773_06cea733a1_z.jpg
    35480910773_06cea733a1_z.jpg
    49.7 KB · Views: 22
  • 36285676595_0676dfbd8d_z.jpg
    36285676595_0676dfbd8d_z.jpg
    76.5 KB · Views: 19
  • 36119481692_22b656e650_z.jpg
    36119481692_22b656e650_z.jpg
    105.3 KB · Views: 32
  • 36119479572_1028edc767_m.jpg
    36119479572_1028edc767_m.jpg
    12.4 KB · Views: 223
  • 36285682985_1158f81570_m.jpg
    36285682985_1158f81570_m.jpg
    17.2 KB · Views: 223
Thanks Jack and Bravada, I'm trying to detail the steps and lessons just in case it's helpful to someone in the future. I think the new roof is going down tomorrow morning using "Peel and Seal" material. I'll report back on that too, if it works it could be a nice solution that seems popular for mobile homes but more rare on RVs.
 
A well deserved applause

DH,retired sheet metal fabricator looked at your post,pictures. He said it was clever with the earth magnets and the use of the farm jack. Sending along a boat load of encouragement. It will all be worth it and you will have many years of enjoyment for your labor. We stopped by an RV dealer for a screen door roller. Looked at some units in the showroom and one retro unit by Thor. Garbage,cheaply made and expensive for not a whole lot of storage. Not even remotely interested in giving up my HiLo.
 
Hi Everyone,

A few updates like usual. Also a link to more thorough pictures for anyone interested:

https://flic.kr/s/aHskGjjPyn

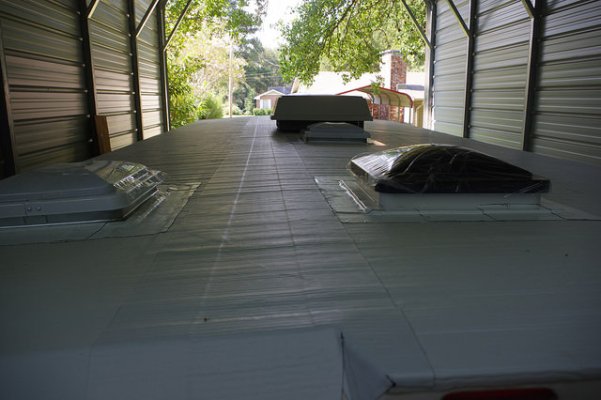
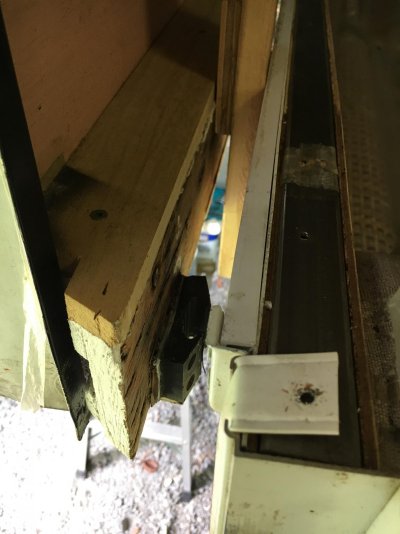
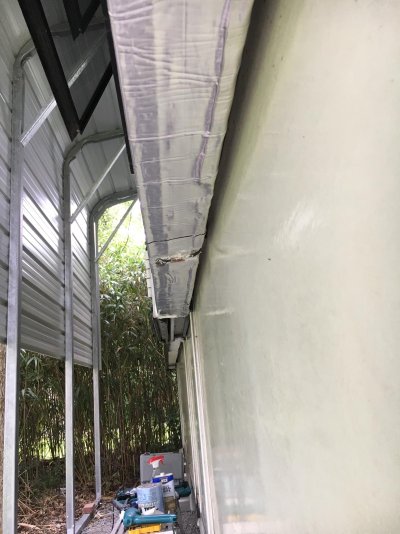
Got the roof laid down using MFM's Peel and Seal product (see the pictures below). This is an interesting product that gets used a lot on mobile homes and seems to hold well across an uneven surface like the restored decking on this 24' Classic. Time will tell how it sticks, but for now, it looks successful.

New vents and the a/c back on top as well.

Next up, I'm working over the bulb seal and that beam that runs along the bottom of the upper half. I'll keep you all posted. And thanks for sending the encouragement along. Someday soon I might get back to the inside of the trailer and think about things like paint!
 

Attachments

  • 36258759592_4ce4589564_z.jpg
    36258759592_4ce4589564_z.jpg
    75.1 KB · Views: 15
  • 36290315591_3400f4bf75_z.jpg
    36290315591_3400f4bf75_z.jpg
    75 KB · Views: 18
  • 36290344601_e96d1bb16f_z.jpg
    36290344601_e96d1bb16f_z.jpg
    72.2 KB · Views: 16
  • 36290328271_828fa63dd0_z.jpg
    36290328271_828fa63dd0_z.jpg
    72.7 KB · Views: 16
  • IMG_4044.jpg
    IMG_4044.jpg
    142.2 KB · Views: 19
  • 52372778350__97501945-38ED-49A4-8423-C451D83125CD.jpg
    52372778350__97501945-38ED-49A4-8423-C451D83125CD.jpg
    204.4 KB · Views: 18
Thanks Tree and Jack and everyone else - Like I've said before, encouragement is appreciated and helpful as the project rolls on. It's been a big project but it is starting to come back together now. Thanks again for the ongoing input and thoughts.
 

Try RV LIFE Pro Free for 7 Days

  • New Ad-Free experience on this RV LIFE Community.
  • Plan the best RV Safe travel with RV LIFE Trip Wizard.
  • Navigate with our RV Safe GPS mobile app.
  • and much more...
Try RV LIFE Pro Today
Back
Top