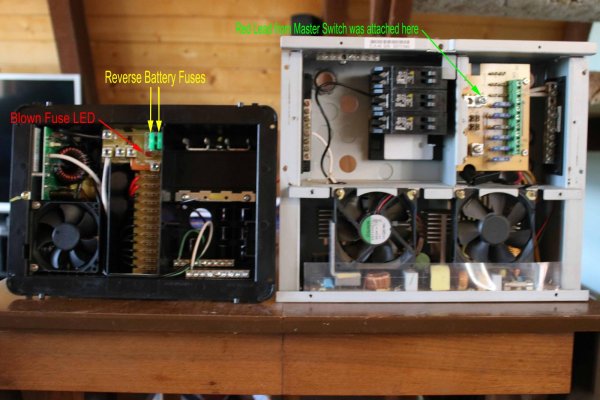
I finally got sick of the OEM Elixir converter installed in my trailer and decided to replace it. I chose a Progressive Dynamics PD4045 converter based on its cost and features. It has 4-stage charging, easy to replace reverse battery fuses, an LED that tells you if those fuses have blown and was available from BatteryStuff.com for about $185, shipping and tax included.
I learned a great deal doing this replacement, and made some mistakes. I'll try to share both with you.
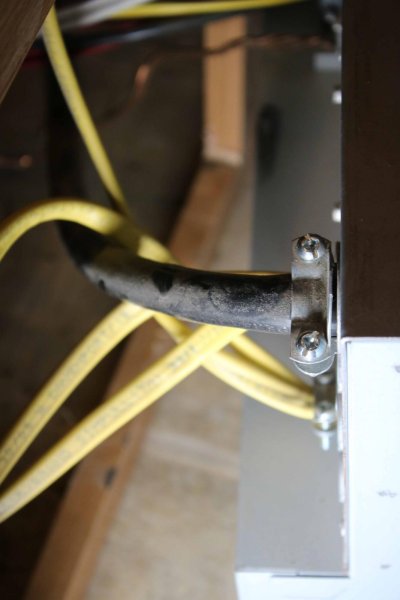
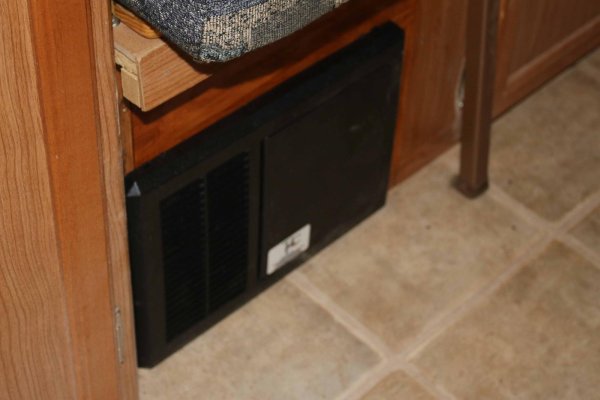
The first picture shows the Elixir converter pulled out from its mounting location under the left side of my couch. I chose to remove the couch cushions and the floor under the cushions to gain better access. The AC wiring is mostly on the left and the DC wiring is on the right.
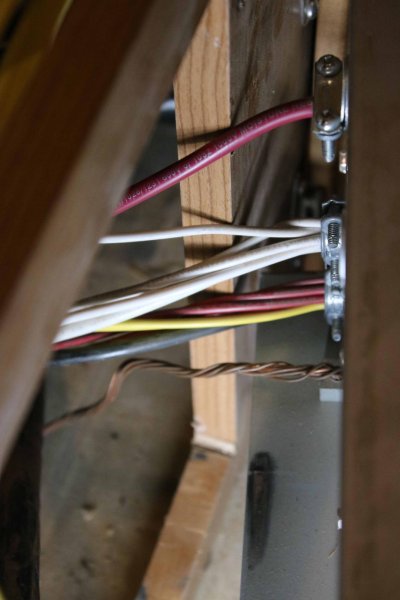
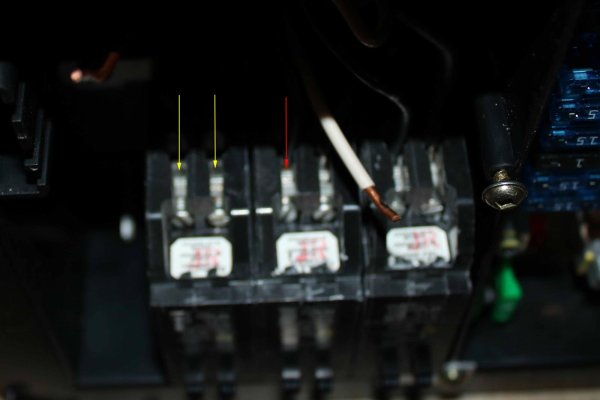
The second picture shows the AC wiring entry. The heavy black wire is the shore power cord and the yellow wires are ordinary house wiring to things like the Air Conditioner, Microwave, etc.
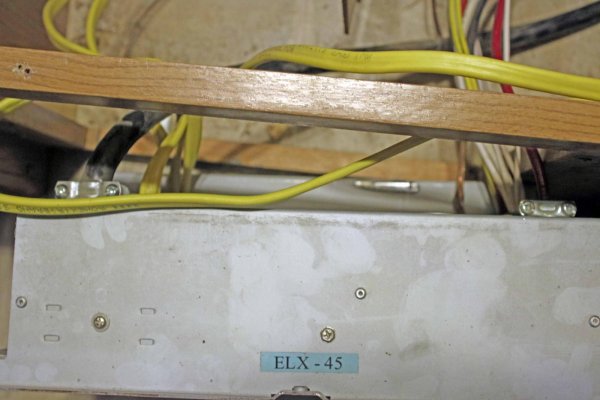
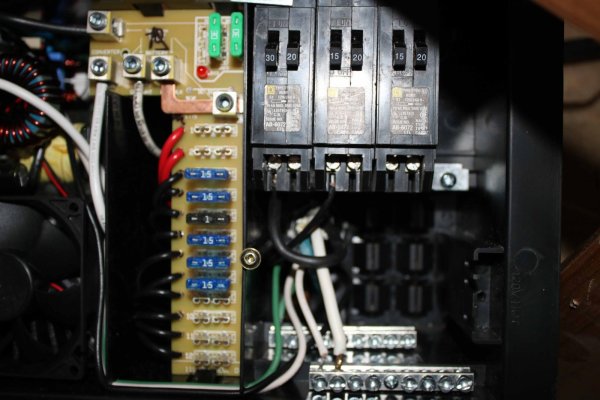
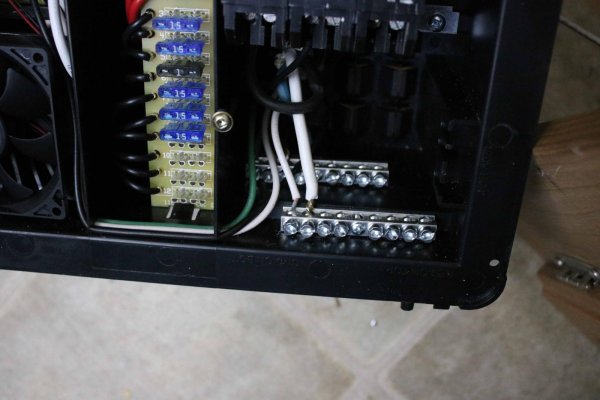
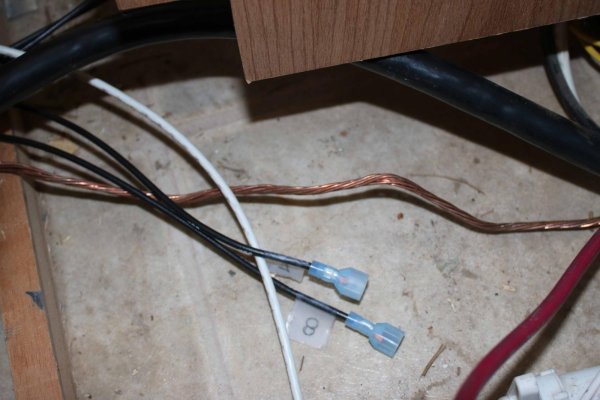
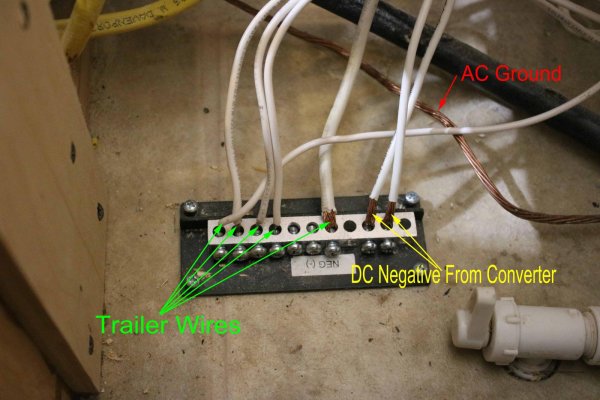
The third picture shows what is mostly 12V DC wiring, with one BIG exception! The bare copper stranded wire at the bottom is the AC current ground, that connects to a tab on the metal case. This is NOT part of the DC power circuitry and it must be kept separate!
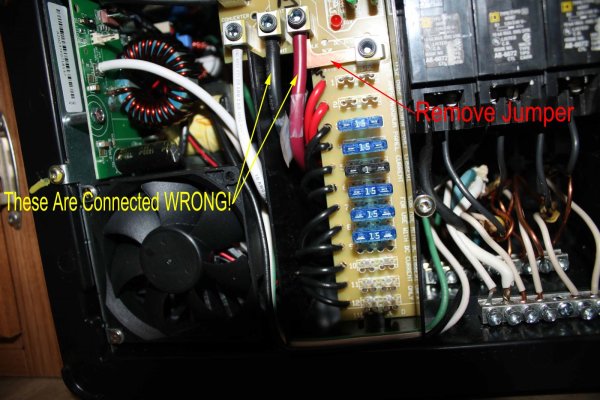
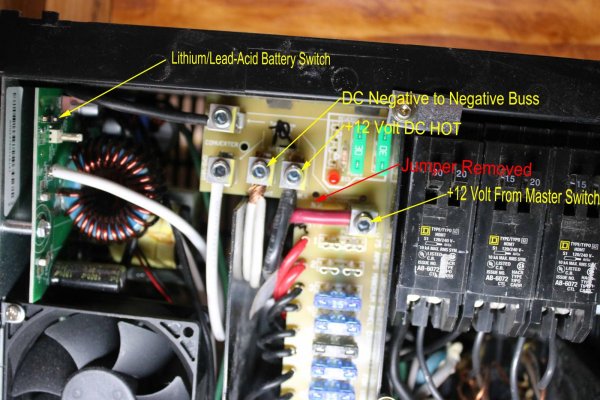
Above the ground wire, is a bundle of colored wires. These are mostly positive 12V feeds to components, such as the water pump, interior lights, fan, etc. There is also a heavy black wire in this bundle and it is the 12V charging line to the battery. I did not understand that black wire properly and connected it improperly at first.
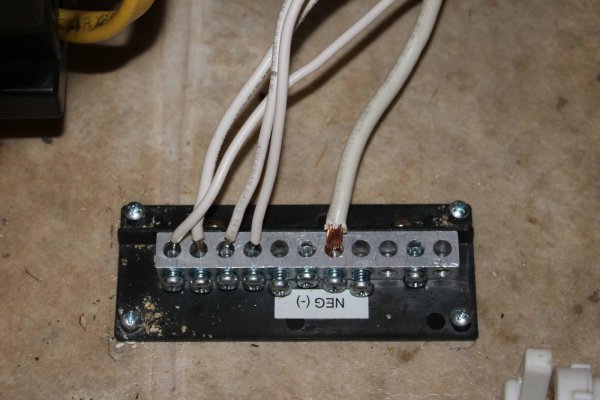
Above the colored bundle, is a bundle of white wires. These are the 12V negative lines that return current to the negative terminal of the battery. They are NOT "grounds", although they are often referred to that way. DO NOT combine them with the bare, AC ground wire!
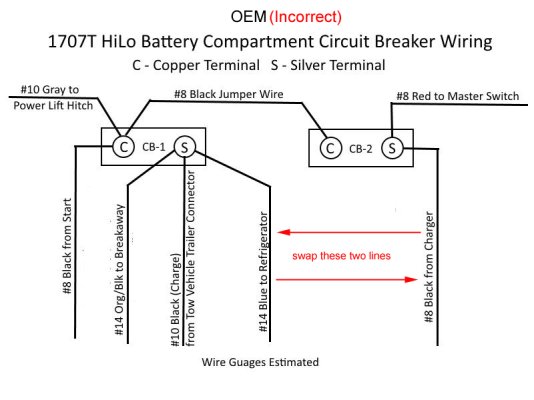
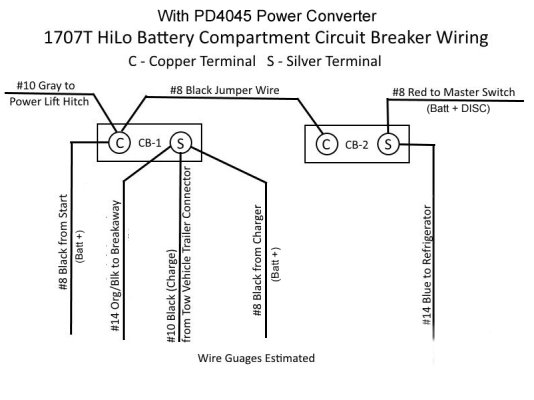
The heavy red wire at the top is the +12V DC input from the Master Switch. Again, I did not fully understand this at first, which led to an incorrect hookup.
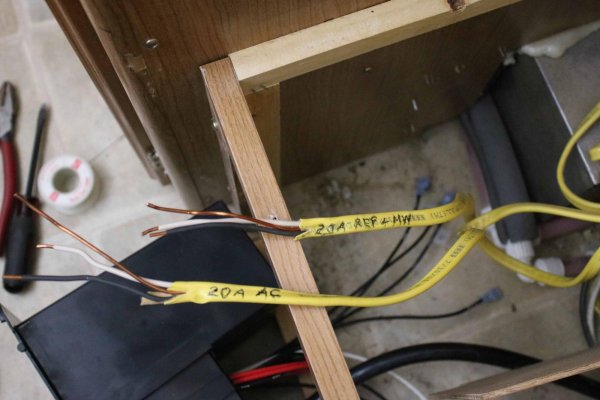
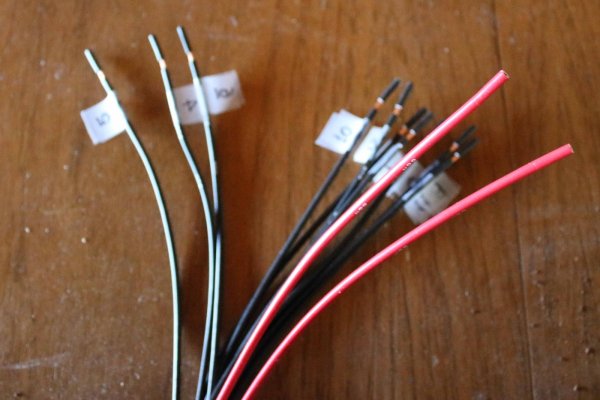
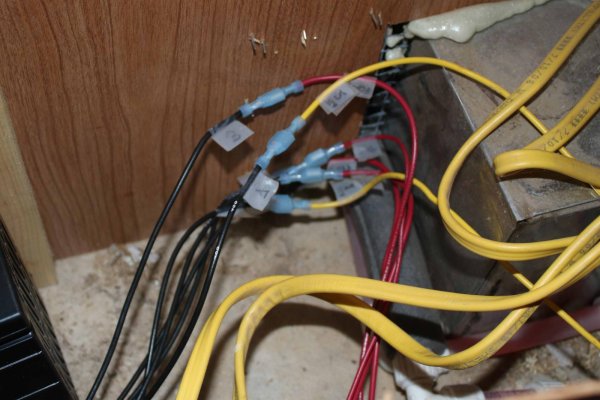
As I removed the old converter, I labeled all the colored wires. I simply wrote what the wires led to on the casings of the AC wires as shown in the fourth picture. I used magic tape as labels on the positive DC wires and wrote the fuse numbers they came from on them. I'll do the same on the corresponding wires in the new converter.
I think I'm limited to 4 pictures per post, so this will continue in the next one.

