NE
Neal and Bev
Guest
The vent fan in our Hi-Lo was Ok, but it was rather small and noisy and didn't pull a great deal of air though the camper.
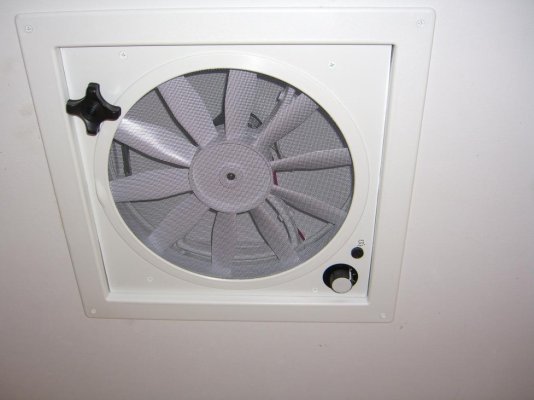
We'd seen the "Fantastic Fan” in a few of the campers that we looked at and we liked the air flow that they created and they were much quieter then ours, so we decided to install one.
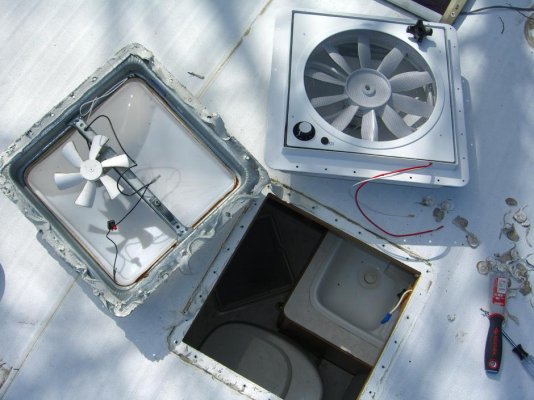
It turned out to be a simple installation. I started by taking the inside trim off of the old vent fan and disconnecting the electrical wires.
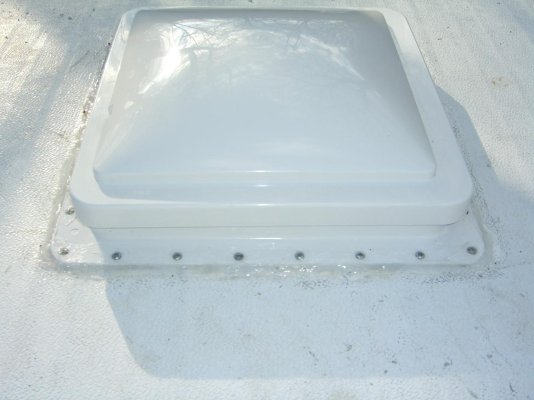
Next I lowered the top of the Hi-Lo and used a ladder to get on the roof. I scraped the caulk off of the screws and from around the bottom of the vent. I started with a regular putty knife but it was thin and flimsy and didn't work well so I got a stiff bladed scraper and that worked very well.
There are 30 number 2 Robertson screws that have to be taken out, so after the third one I went and got my drill with a Robertson bit for the rest.
The remaining caulk still had a grip on the vent so I had to work at it a bit to pry the old vent off. The instructions cautioned me to do a good job of cleaning the area around the vent hole before installing the new vent, this was to prevent a leak.
The instructions suggested that the new vent be installed using 100% silicone caulk, so that’s what I used. As instructed I put a bead of caulk around the vent hole, installed the new vent, tightened the screws in a side to side pattern to pull the vent down evenly, and then caulked the outer edge of the vent and the tops of the screws.
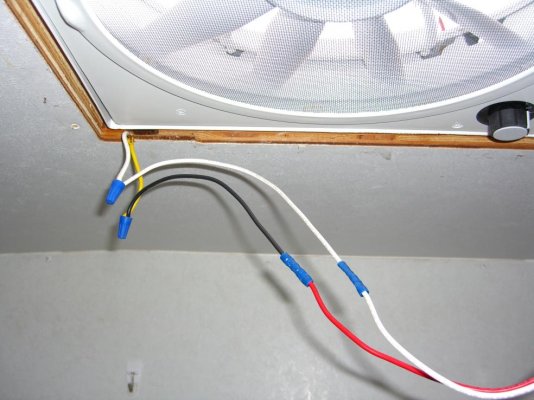
On the inside I had to add a few inches of wire to get the leads to reach to the wires in the ceiling. The trim piece that came with it was 5" tall and the instructions said to cut the trim to the required height, which in my case was about an 1 1/4". The trim plastic was kind of soft and after cutting the corners with a hack saw, I was able to use a razor knife to score the sides and break off the excess trim.
It sounds like more work then it was and if I had to do another one I could do it faster, this one took me over 2 hours to do. The new fan works great and we're very pleased with it. If you ever get a notion to do one, just get an early start and take your time, its an easy job and it makes a big difference.
Neal


