You are using an out of date browser. It may not display this or other websites correctly.
You should upgrade or use an alternative browser.
You should upgrade or use an alternative browser.
Renovation has begun!
- Thread starter Glenn Cole
- Start date
-
- Tags
- hilo
garyk52
Senior Member
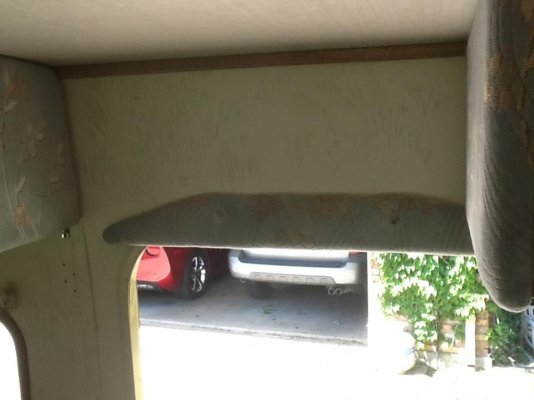
See those things that look like buttons, they're caps, take a screwdriver under the edge of them and pop them off, you will find 2 small screws take them out, then under them you will find 2 long screws that hold the head bumper on.
Glenn Cole
New Member
Thanks Gary, I got as far as the long screws, haven't found them yet.
Got any Intel on those padded cabinet ends?
Have a good weekend and thanks!
Got any Intel on those padded cabinet ends?
Have a good weekend and thanks!
sam-HILO
Senior Member
Fabric cleaning
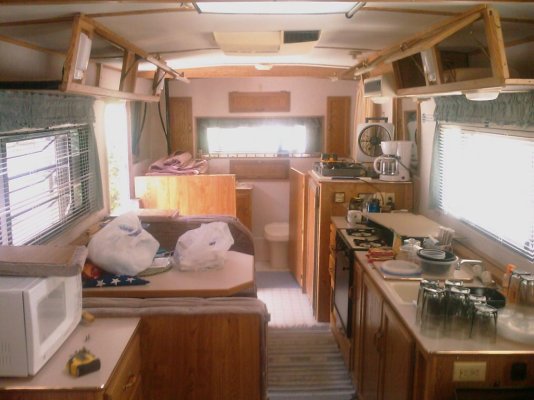
If that was me I would leave them in place and use a steam cleaner to clean them. I've seen small portable steam cleaners. When we got our used HiLo I splurged and had a carpet/upholstery cleaner come in. Worth every penny. Didn't cost that much. This way I could clean every inch of the trailer. Had fun vaccuming sand out of the outside storage pods and picking flies out of the window tracks.
If that was me I would leave them in place and use a steam cleaner to clean them. I've seen small portable steam cleaners. When we got our used HiLo I splurged and had a carpet/upholstery cleaner come in. Worth every penny. Didn't cost that much. This way I could clean every inch of the trailer. Had fun vaccuming sand out of the outside storage pods and picking flies out of the window tracks.
Glenn Cole
New Member
Hi Sam,
We're wanting to re fabric them.
We're wanting to re fabric them.
sam-HILO
Senior Member
Fabric cleaning
Just realized you have the exact year and make of our trailer. When it comes to the bundle of wire in the BR that is cloth covered You can use a seam ripper to undo the cloth seam. They wash up beautifully. Then you can sew or glue Velcro and fasten it back up. One of the cloth cover likes to slide down so I took it by force!! I used two Velcro fasteners. One at the top and one at the bottom. The fasteners work like zip ties. You might find this at a dollar store or Walmart. Once you get your Rv clean you could spray any fabric,rugs with a scotchguard spray. Walmart has a spray with an orange label in the camping section. Much cheaper than name brand. I was able to have another member scan the 1990 owners manual into the library section. Feel free to ask me any questions you may have or PM me. We love the interior fabric/color of our HiLo.
Just realized you have the exact year and make of our trailer. When it comes to the bundle of wire in the BR that is cloth covered You can use a seam ripper to undo the cloth seam. They wash up beautifully. Then you can sew or glue Velcro and fasten it back up. One of the cloth cover likes to slide down so I took it by force!! I used two Velcro fasteners. One at the top and one at the bottom. The fasteners work like zip ties. You might find this at a dollar store or Walmart. Once you get your Rv clean you could spray any fabric,rugs with a scotchguard spray. Walmart has a spray with an orange label in the camping section. Much cheaper than name brand. I was able to have another member scan the 1990 owners manual into the library section. Feel free to ask me any questions you may have or PM me. We love the interior fabric/color of our HiLo.
sam-HILO
Senior Member
Fabric cleaning
Looked at your picture again. Your fabric looks in great shape. You certainly can do what you want. I would spend $ on coating the rubber roof,raising up the toilet ect.
Looked at your picture again. Your fabric looks in great shape. You certainly can do what you want. I would spend $ on coating the rubber roof,raising up the toilet ect.
vannooch-HILO
Senior Member
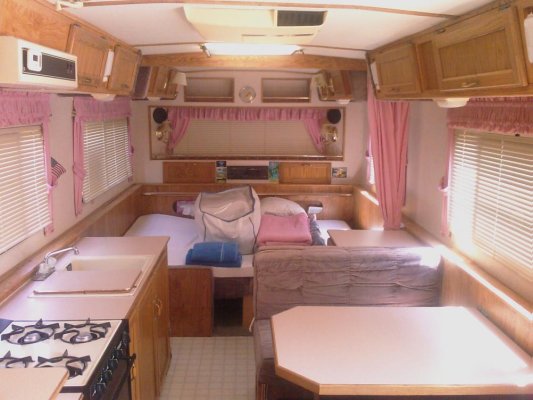
The interior of the cabinets will pry up with a small pry bar or a flat screw driver, they are stapled in place. If I recall correctly, you will need to remove the bottom first, and then the sides. Once you take the inner cabinet panels off, there are screws holding them on. The fabric is just stapled in place. I covered over the existing fabric. The pink had to go!!
Attachments
garyk52
Senior Member
Thanks Gary, I got as far as the long screws, haven't found them yet.
Got any Intel on those padded cabinet ends?
Have a good weekend and thanks!
Padded cabinet ends, can't help you as I didn't take my cabinets apart. The long screws are not flush, they are sunk in about 3/4 inch. Take an awl and push around till you sink the awl in the hole. Probably square drive screws. The holes will be a little off center of the cap that you removed.
Similar threads
- Locked
- Valen
- Other stuff for sale
- Replies: 2
- Views: 448
- Weeks of adventures
- General Hi-Lo camper discussion
- Replies: 2
- Views: 472
- hdrider211
- General Repairs, Modifications, Tips and tricks
- Replies: 1
- Views: 290
Try RV LIFE Pro Free for 7 Days
- New Ad-Free experience on this RV LIFE Community.
- Plan the best RV Safe travel with RV LIFE Trip Wizard.
- Navigate with our RV Safe GPS mobile app.
- and much more...


