The roof leaks.

The Ohioian

Senior Member
Joined
Mar 6, 2011
Messages
133
Location
SouthWest Ohio
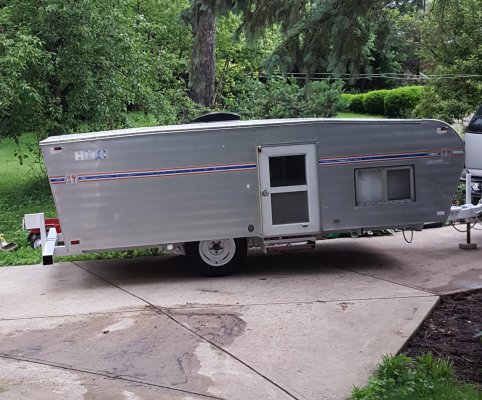
My wife and I bought our trailer in 2010. It's a 1976 17' single axel.

My mom always took me camping with a pop up. I remember her saying after setup i wish we had a hi lo, and every time a brand new one pulled in the campgrounds. our daughter was born in 09 and we quickly realized that my wilderness gear was not going to work for the family. So for the past eight years we have been using the mobile nest(the hi lo)as a cargo trailer putting the gear and the bikes inside. It stinks and leaks like a strainer, it leaks so bad if the morning due is heavy my forehead would get dripped on in the dinette with the kids above me in the loft. We used the trailer every year gutting more and more. To try getting rid of the smell.

My wife (bless her heart) would ask to renovate every year. It was never in the budget or something else would suck the time from my life. I refused to fix anything inside the trailer, instead I worked on road worthy. Breaks,lights,outside aesthetics.

Last year we used the nest 15 Times. Everyone loves it, until they look inside. Ooh they would say. People don't understand why we would camp it. Most rigs we park next to dwarf mine. I never understood going camping with one hundred thousand dollars. The point is to get outside especially today with the kids and the devices.

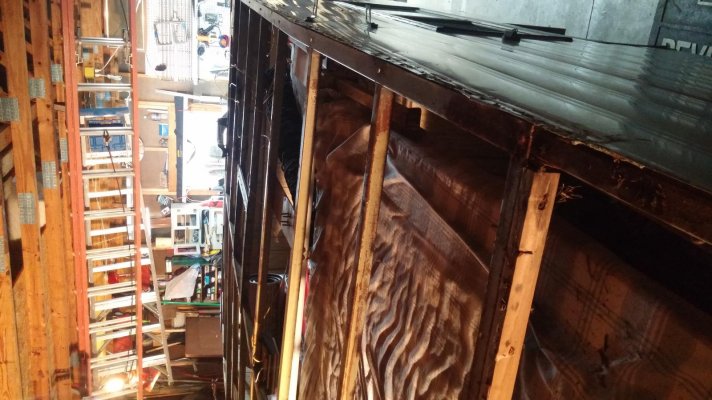
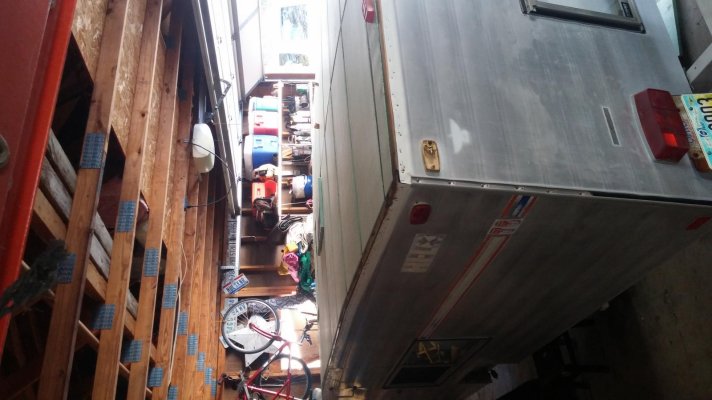
Hi lo's are built panel by panel with the inside paneling as a place holder(The screws will hold just fill the gap.) So if you want it right disassembly should be done. Yes the entire trailer. I filled the gaps with metel shims and spray foam. I wanted as much insulation as possible 2" in the roof was the goal.

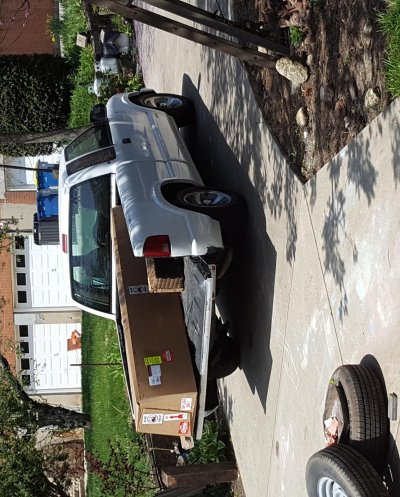
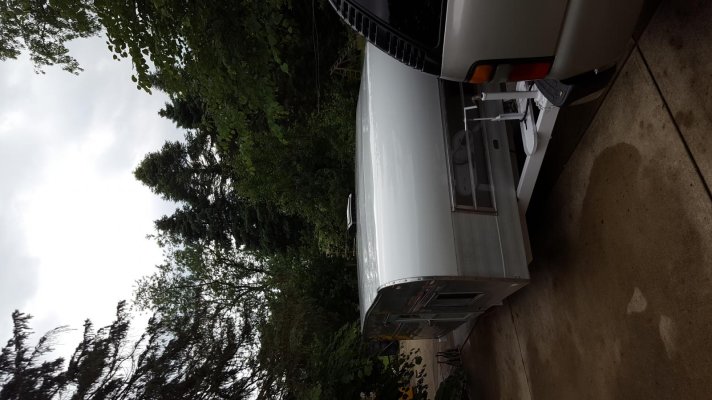
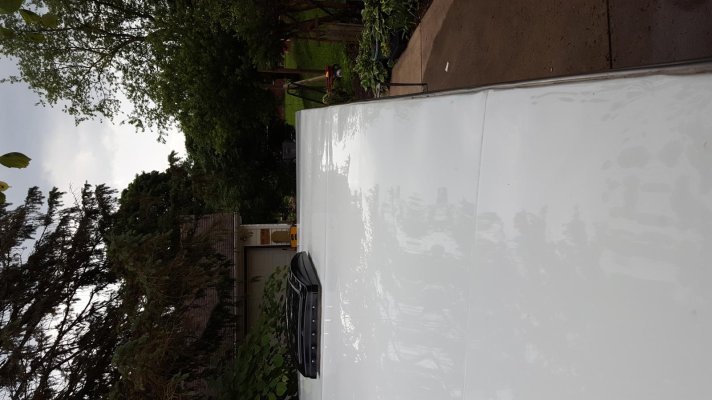
Ripping the nest apart made me question the quality of the trailer.( why not use stainless screws on the exterior baffles me). Anyway we put foam in between the frame and glued them in with silicone. we used 3/4 foam form Lowe's i laminated them together with contact cement and drywall hangers the plastic screw type i did not want anything rusting thru on the headliner just in case something gets wet. Then we stretched the metal on that we bought from Milton valley RV in California. 950.00 with tax and shipping. So we have about 1300.00 in the roof all said and done.

Life is busy. I wanted to start sharing the process with everyone, I just don't have the time to type this. So bear with me on the photos and the process of writing this up.

Not A poet.
 
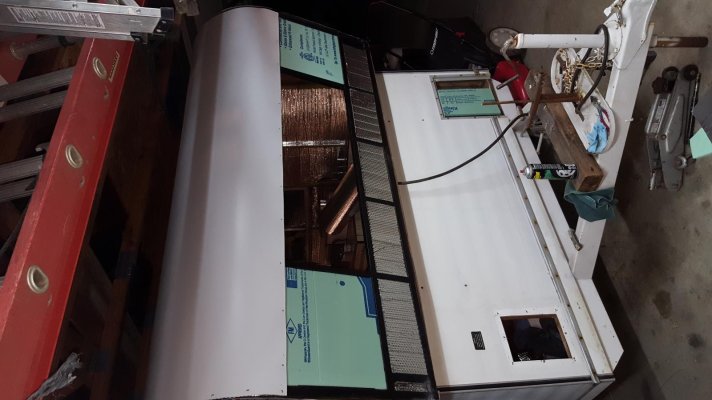
All the insulation from the factory was just laid in the roof. Once I had the roof removed I sanded and painted all rusty and missing primer.

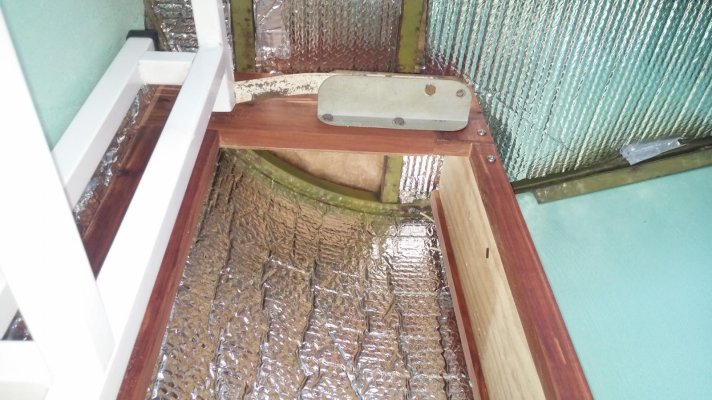
The front cabinet at the curve supports the aluminum so I rebuilt it with aromatic cedar. I used cedar just in case it leaks again it probably won't rot. There is no room for insulation in the curve so I used reflectics bubble. Flattened (popped)the bubbles at the frame. I did add a support in the middle which acts as a divider for the cabinet.
 

Attachments

  • 20171214_132546.jpg
    20171214_132546.jpg
    206.4 KB · Views: 112
  • 1528207550143359329391.jpg
    1528207550143359329391.jpg
    214.7 KB · Views: 93
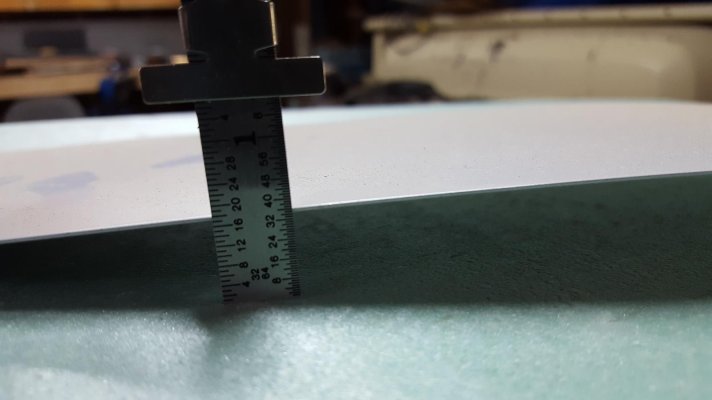
Putting the insulation in was a long process I wanted a curve in the roof so each piece was cut and sanded to fit so that it would bow from compression. A mistake that I made was left the foam sticking up near the edge. Once I started bending metal over it was in the way. (i had to sand down the ridge..... Flush at the edge.) after that long and doubtful process I ended up with inch and three quarters of foam before the headliner.
 

Attachments

  • 20180106_145539.jpg
    20180106_145539.jpg
    150.5 KB · Views: 83
Just a question The Ohioian (or should I say MUL SK NR?) did you seal the edges and seams of the metal? Or does the caulk suffice? I've assisted in replacing a metal roof with rubber (spray foam insulation), but was just curious about sealing the edge of the metal.
Tree
 
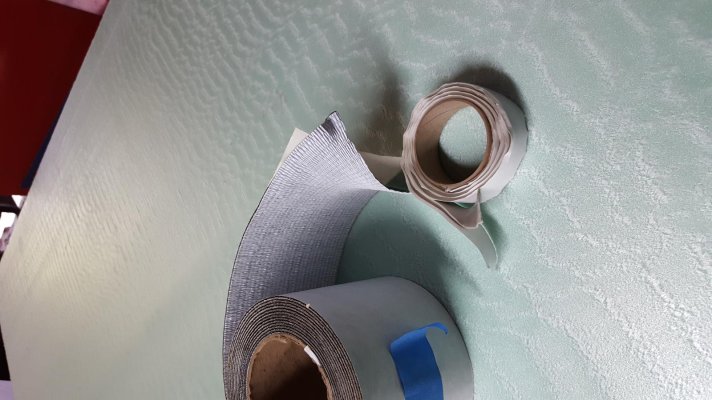
Tree the seams are a acme seams just like the factory. takes a giant press...(milton valley has one). everywhere i called did not want my bussiness. or wanted to sell me 4x8 sheets that i would have to join. silicone is great, it just oozes out when you fasten it. i dont like waiting for it to cure before i rivet. yes the edges are sealed with a small bead right at the corner with silicone under before the bend.( just for insurance water tends to amaze me when the tension lets it flow up..lol..) its not needed. butal tape under the trim works fine. i also used the new flashing for curved windows on the curve and rear.

i am not mul sk nr... what is that..
 
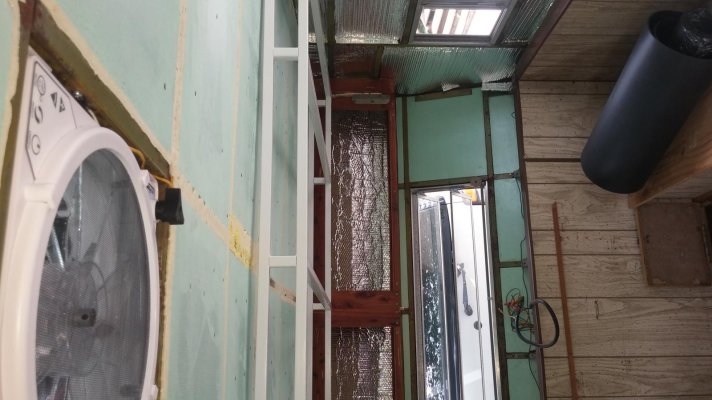
After I built the front cabinet we needed to reproduce the curve. The paneling used from the factory fell apart as it came out most of the stink was in this area.

When we started looking for a replacement I did not like paneling materials because it holds moisture and its cheap and ugly. I am sorry for calling paneling ugly it's not for me.

Frp.. Fiberglass reinforced plastic. I had worked with it before in surgery rooms so it not going to hold water. I used super 77 spray glue to laminate the frp to the reflectics after I cut and fit. Used rivets to try and stay flush.
 

Attachments

  • 1528219319324620179556.jpg
    1528219319324620179556.jpg
    173.5 KB · Views: 74
the reason i bought my roof for the rv place was they have dyes that bend in a s at the union of the siding. (i learned this from the shasta guys.) so i measured with a static rope from the top of the window and the side to the back took the average. i laid out the metal on a hot day in the sun on top the camper..

i cut off the chanel that holds the the trim along the top of the window test fitting and trying to level everything together. triming siding. leveling and test fitting. so..

i put two rivets on hidden in the s where i thought everything was lining up good ..

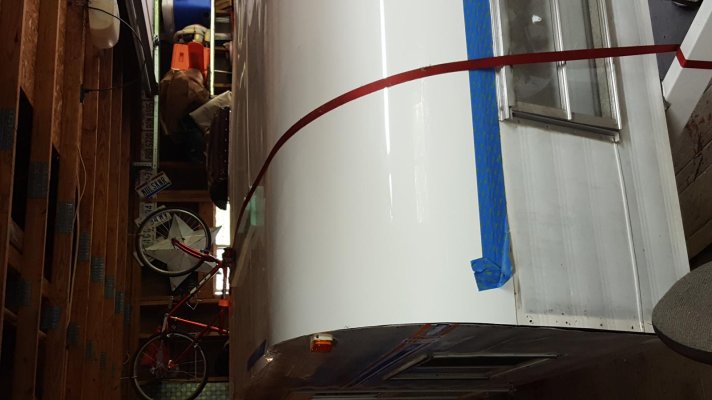
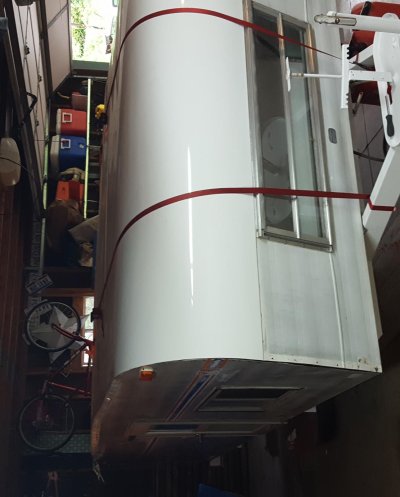
laid two ratchet straps across the top to hold down the metal.

clamped a ratchet strap on the back and pulled on a hot day in the sun...measured for the cut on the roof vent marked the roof vent...( freaked out took it all off.. re leveled marked and all came out the same.). cut the roof vent.
 

Attachments

  • 20180514_103238.jpg
    20180514_103238.jpg
    123.3 KB · Views: 49
with the s bend in place and window slideing up in it nicely because i bent and rubbed. me and my wife riveted the s on the hidden, bed in the window with butal tape..and screwed off the front.

so i trimmed the siding and the roof closest i could up and around the curve on the front and tightend the ratchet strap. in the sun i held down on the top of the roof with a long block...

with a rubber mallet i bent over the flap that measures less then the trim hitting the side favoring down and slighty to the rear.

working down the side of the trailer switching sides and riveting somtimes jumping a bit ahead to hold down the bowing metal.( think about streching foil over the bowl off chicken you got to change direction.) bend over the metal at the rivet tap it as you seat it. dont beat it to death getting it flat bend it over and rivet flush. beat some bows on the flap add some more rivets if needed to get it flush and bent flat for the trim to hide..
 
my wife and i did not like the look of the vents flange, all that dicor and screws.. so we bought the maxx air with its removable flange. plus its cool like the trailer.

i inset the flange in the foam below the roof so that i had the frenched look and only rivets around the opening.

as we worked the side we bed in the flange with silicone and shims and rivet with 5/16 marine. finished off with that crazy self leveling mess that has to be done.
 

Attachments

  • 20180514_103355.jpg
    20180514_103355.jpg
    162.1 KB · Views: 47
i think this is mid way down..

as you can see i got the window where my wife wanted it and all hidden fasteners like i want some old screw holes show but it is what it is.
 

Attachments

  • 20180515_182323.jpg
    20180515_182323.jpg
    142.9 KB · Views: 33
we used flat. glossy white. .30 aluminum( or is it .030) well the thicker stuff. package arrived safe and sound from the west coast early... almost crazy fast...

we used dicor.. silicone.. that flex flashing for curved windows... and butal tape..

i cut that flex flashing small and hid it under a bed of butal tape and trim..
 

Attachments

  • 20180607_091336.jpg
    20180607_091336.jpg
    87.9 KB · Views: 26
  • 20180607_090918.jpg
    20180607_090918.jpg
    190.2 KB · Views: 22
  • 20180502_140350.jpg
    20180502_140350.jpg
    327.8 KB · Views: 25
Just a question The Ohioian (or should I say MUL SK NR?) did you seal the edges and seams of the metal? Or does the caulk suffice? I've assisted in replacing a metal roof with rubber (spray foam insulation), but was just curious about sealing the edge of the metal.
Tree

mule skinner thats my buddys plate..
 
some things i would have done differant. changed the screws that hold the roof and sides together, or grind the heads off. better plan to produce the curve. ( but now i know how the metal will act).

use the sun to expand the metal to measure,cut, bend, and rivet. you should be done in four hours.goes fast. if you have a plan and help

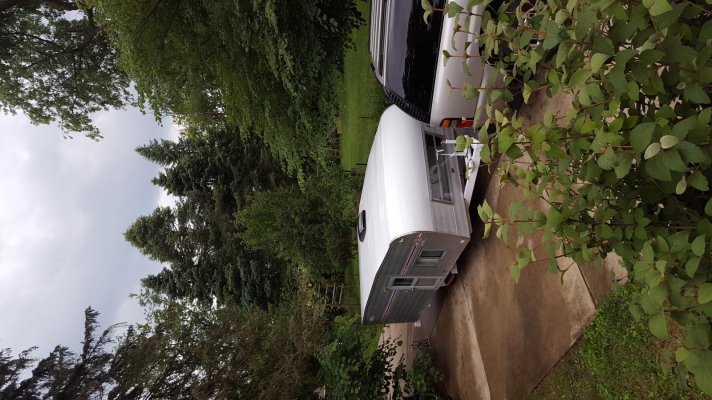
well thats nest and the new roof.
 

Attachments

  • 20180608_174306.jpg
    20180608_174306.jpg
    285.5 KB · Views: 47
  • 20180608_181617.jpg
    20180608_181617.jpg
    328.8 KB · Views: 46
  • 20180608_174605.jpg
    20180608_174605.jpg
    201.3 KB · Views: 32
  • 20180608_174356.jpg
    20180608_174356.jpg
    183.4 KB · Views: 30
When you started the process, did you have to separate the top from the bottom? I have one in similar predicament where the top half needs rebuilt. Nice job!
 

New posts

Try RV LIFE Pro Free for 7 Days

  • New Ad-Free experience on this RV LIFE Community.
  • Plan the best RV Safe travel with RV LIFE Trip Wizard.
  • Navigate with our RV Safe GPS mobile app.
  • and much more...
Try RV LIFE Pro Today
Back
Top