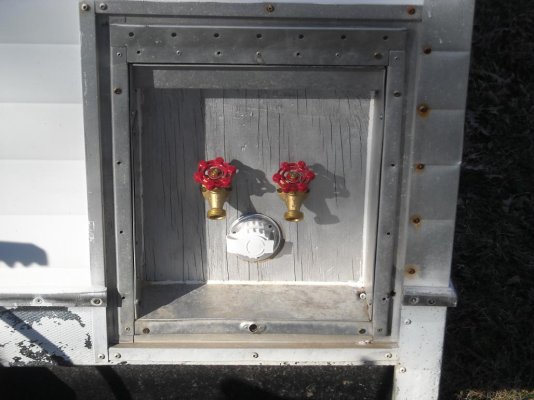
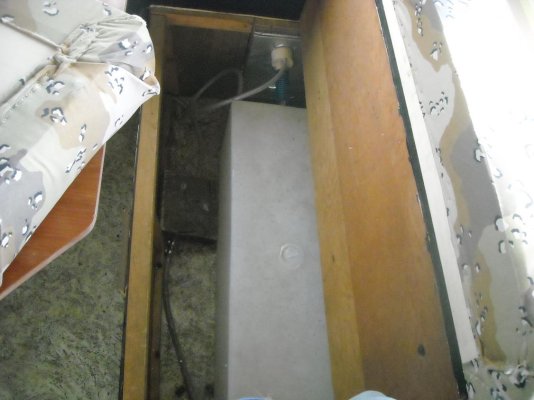
Now I may be figuring how to upload these pictures!!
Attachments
Last edited:
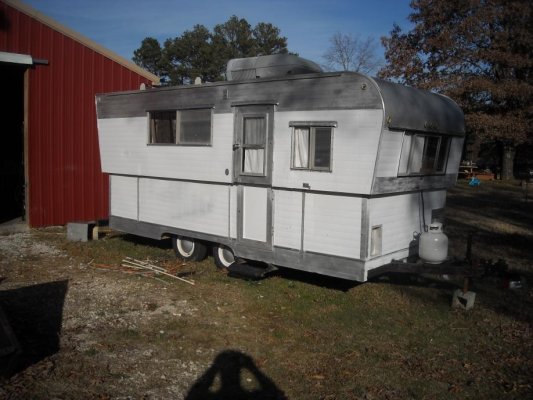
How far are you going? I see you have a roof ac unit, do you have any roof leaks or does the roof seem to sag any? I'm getting ready to gut my '72 and I haven't decided if I'm going to leave the roof unit or put a vent back and put a window unit on the back.
How far are you going? I see you have a roof ac unit, do you have any roof leaks or does the roof seem to sag any? I'm getting ready to gut my '72 and I haven't decided if I'm going to leave the roof unit or put a vent back and put a window unit on the back.
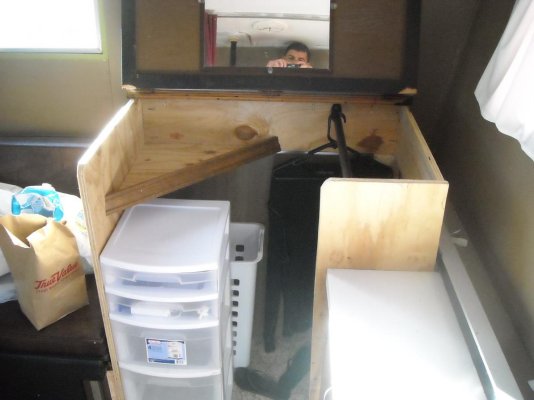
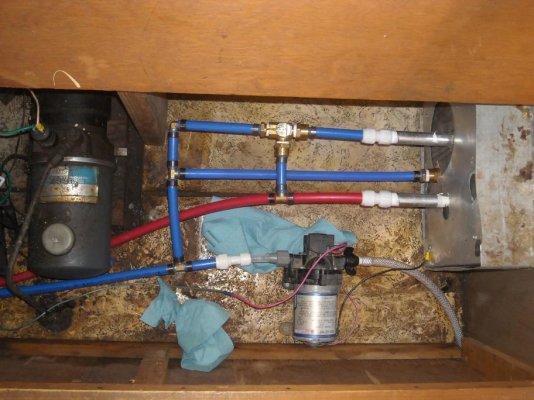
I'm just getting it usable for now, had to re-do all the plumbing, build a closet- someone had tore most of it out, put in a new toilet, and maybe a new floor covering for the wife!
I'm just getting it usable for now, had to re-do all the plumbing, build a closet- someone had tore most of it out, put in a new toilet, and maybe a new floor covering for the wife!I have the leaks fixed and will begin to replace the front-top and rear-top paneling in the future. No leaks or sagging around the ac unit. Had a leak around the vent over the stove, but replaced that.
I also had to replace all of the plumbing in mine. I used CPVC and lots of valves so I could isolate anything and everything. Just this summer I got a roof leak that I haven't been able to find yet but being 40 years old, I figure it's time to update all the way around and change the floor plan while I'm at it so I'm going to gut mine and start pretty much from scratch. I think I'll leave my dinette and drop down bunk in the same place and the toilet will stay put but I'll relocate the couch/bed and have all new cabinets, floor/wall/ceiling coverings. While it's gutted I'll look for cracked welds and/or rusted framework as well as the source of the roof leaks.
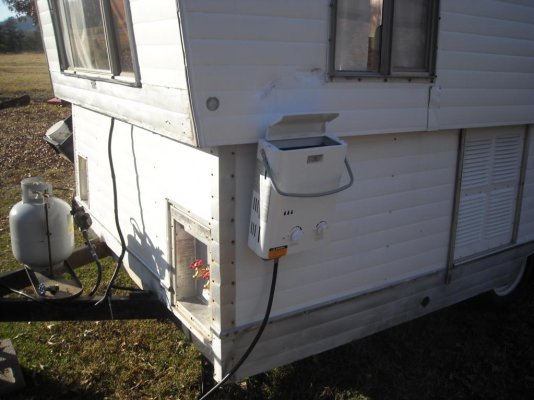
Re-placed water heater with outdoor tankless, these are my city, cold out and hot in. Also installed a plastic water tank.
I really like this setup and may copy it. I don't have a water heater in mine right now but if I put a real shower in I will have to - let me know how you like your instant unit. I already pulled my fresh water tank as I'm really not a fan of those - they get nasty in my opinion. and mine doesn't have a gray tank anyway so I'll just go places where I can get a full hookup.
sam-HILO
Senior Member
HiLo restoration.
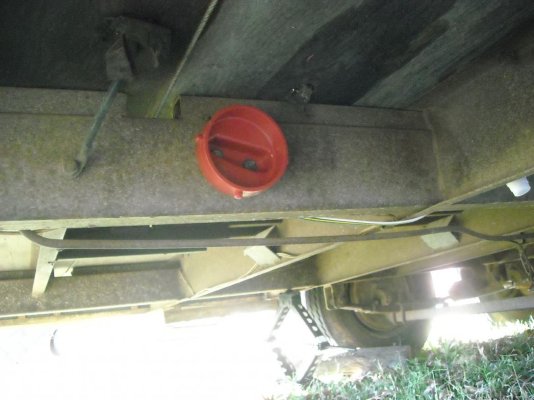
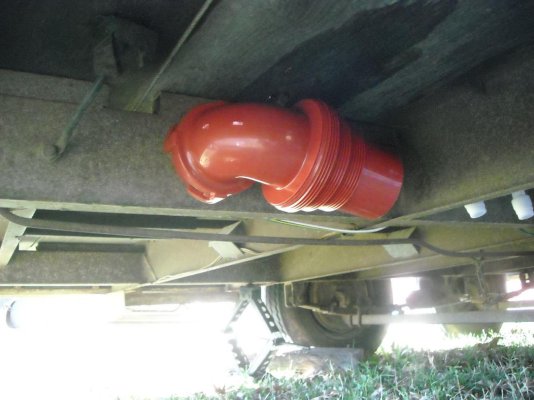
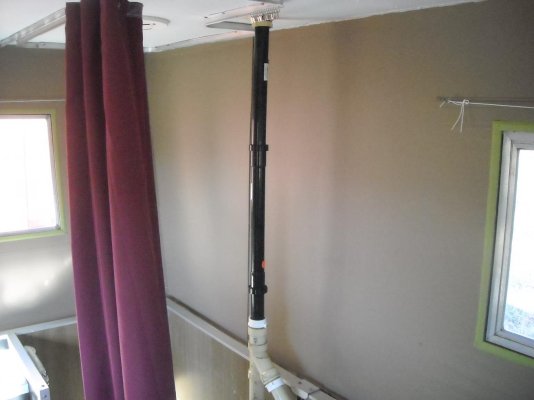
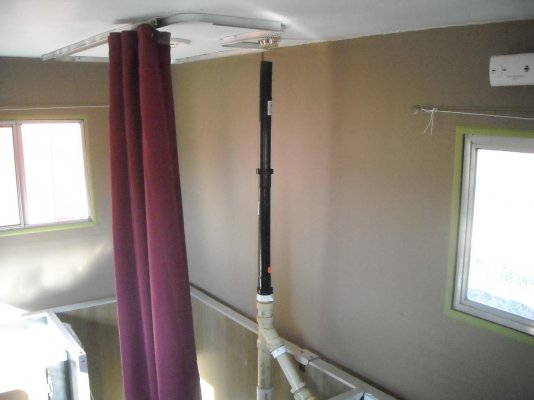
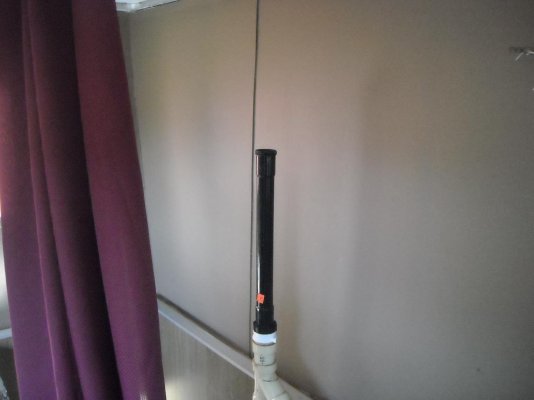
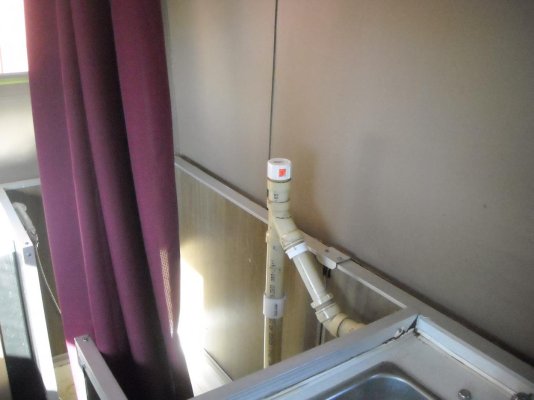
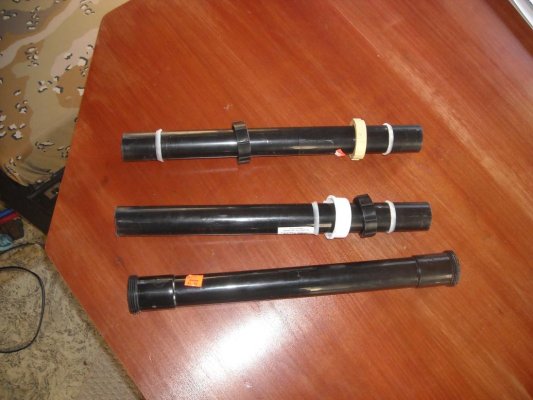
Thanks for posting the restoration pictures. You might want to consider replacing the rusty exterior screws with stainless steel ones. Our stink pipes are covered with cloth. You could sew one and put it together with velcro sewed on the material. Mine tended to slip down so I used some soft velcro ties I found at my RV store. I could also see ties made up with fabric or a pretty ribbon in a bow tie. Keep up the good work. When I did my restoration on my 1990 I gutted the upper walls and used 3M bondo on the inside to seal my pinpoint holes in the fiberglass. This could also be used on aluminum. Lexell caulk is excellent to use on interior and exterior. Best of luck as you continue to restore. Keep us posted.
Thanks for posting the restoration pictures. You might want to consider replacing the rusty exterior screws with stainless steel ones. Our stink pipes are covered with cloth. You could sew one and put it together with velcro sewed on the material. Mine tended to slip down so I used some soft velcro ties I found at my RV store. I could also see ties made up with fabric or a pretty ribbon in a bow tie. Keep up the good work. When I did my restoration on my 1990 I gutted the upper walls and used 3M bondo on the inside to seal my pinpoint holes in the fiberglass. This could also be used on aluminum. Lexell caulk is excellent to use on interior and exterior. Best of luck as you continue to restore. Keep us posted.
I also had to replace all of the plumbing in mine. I used CPVC and lots of valves so I could isolate anything and everything. Just this summer I got a roof leak that I haven't been able to find yet but being 40 years old, I figure it's time to update all the way around and change the floor plan while I'm at it so I'm going to gut mine and start pretty much from scratch. I think I'll leave my dinette and drop down bunk in the same place and the toilet will stay put but I'll relocate the couch/bed and have all new cabinets, floor/wall/ceiling coverings. While it's gutted I'll look for cracked welds and/or rusted framework as well as the source of the roof leaks.
That sounds like a good plan! That's might be what I will do. I have 2 boys, so if we use it enough and it's big enough, then I'll do a complete overhaul like the one you discribed!! Thanks!!!
I really like this setup and may copy it. I don't have a water heater in mine right now but if I put a real shower in I will have to - let me know how you like your instant unit. I already pulled my fresh water tank as I'm really not a fan of those - they get nasty in my opinion. and mine doesn't have a gray tank anyway so I'll just go places where I can get a full hookup.
Yep, Will do! I have been using the tankless to process deer and give animals baths. It seems to do fine for that, I'll post more on that when I begin to use it. The Grey water tank was nasty, luckily my M-I-L had an old 5th wheel that I salvaged the tank and pump from.
Thanks for posting the restoration pictures. You might want to consider replacing the rusty exterior screws with stainless steel ones. Our stink pipes are covered with cloth. You could sew one and put it together with velcro sewed on the material. Mine tended to slip down so I used some soft velcro ties I found at my RV store. I could also see ties made up with fabric or a pretty ribbon in a bow tie. Keep up the good work. When I did my restoration on my 1990 I gutted the upper walls and used 3M bondo on the inside to seal my pinpoint holes in the fiberglass. This could also be used on aluminum. Lexell caulk is excellent to use on interior and exterior. Best of luck as you continue to restore. Keep us posted.
Thank you all for some very useful information!!! Will do the screws, thats a good idea!! I still have to replace the marker lights as someone has painted or thrown them away. I was wondering how that ugly pipe was just sticking up there, When I got the camper all the fabric pieces like cushions, curtains, matresses and shower curtains were gone. Will pick up some Lexell next time in town. Thanks again and I'll post more as I go along!!!
sam-HILO
Senior Member
Trailer restoration.
One more item as you restore. Remove all your windows are reseal with Butyl tape and Lexell caulk. I recently posted how to do this.
One more item as you restore. Remove all your windows are reseal with Butyl tape and Lexell caulk. I recently posted how to do this.
One more item as you restore. Remove all your windows are reseal with Butyl tape and Lexell caulk. I recently posted how to do this.
Will do, Thanks!!!!
sam-HILO
Senior Member
Restoration tips.
I hate being the supervisor and telling you what you need o do !! We are going over our HiLo today to put away a few things,take the battery out and see how our freebe cover fits. It is 50 degrees and the long johns work real well. I was out yesterday raking up leaves. Time for some pain pills. It is going to be in the 50s all week.
I hate being the supervisor and telling you what you need o do !! We are going over our HiLo today to put away a few things,take the battery out and see how our freebe cover fits. It is 50 degrees and the long johns work real well. I was out yesterday raking up leaves. Time for some pain pills. It is going to be in the 50s all week.
Similar threads
New posts
-
Confusing electric brake issue
- Latest: On The Road Again-HILO
-
-
-
-
Try RV LIFE Pro Free for 7 Days
- New Ad-Free experience on this RV LIFE Community.
- Plan the best RV Safe travel with RV LIFE Trip Wizard.
- Navigate with our RV Safe GPS mobile app.
- and much more...


