Lift Cable Replacement Prep - Eyebolt Lengths

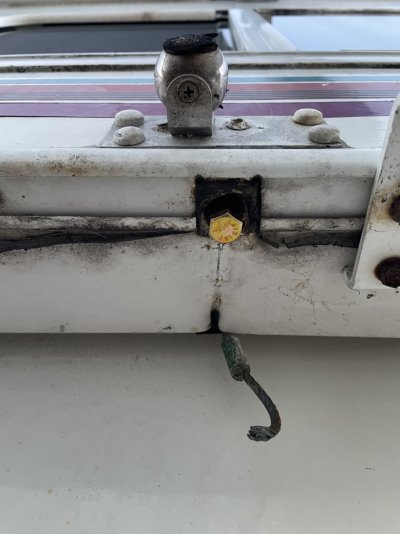
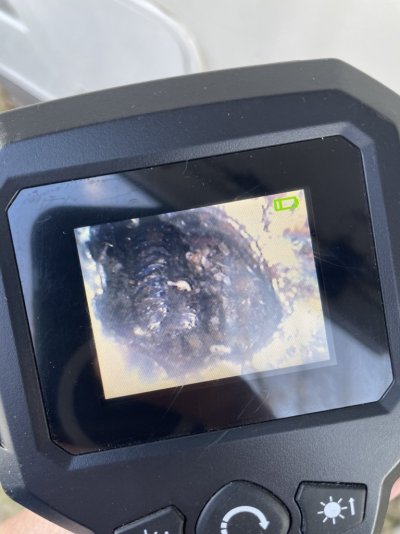
Status update, it’s a positive one. Despite *all four* bolts snapping on me, I was able to successfully drill out and retap 3 of the snapped bolts yesterday, so those positions (Both rears and front curbside) are all ready for their new cables. I decided to get my boroscope out to help see what was going on up there during the process.

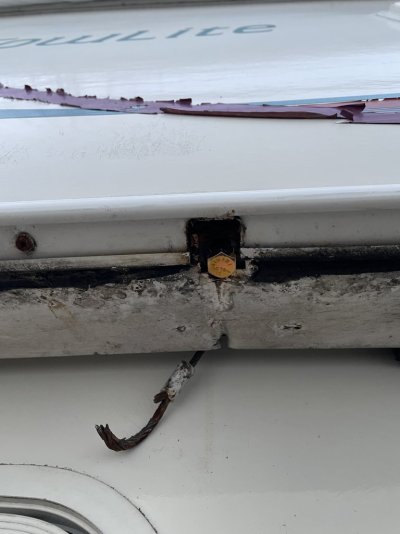
I still need to figure out the front roadside as that hole looks pretty fouled up to say the least, as pictured!

I’d really like to avoid the bracket solution. I’m going to poke around today and verify if the nut is actually dislodged from the tip of the framework. If not, there may be enough metal left to drill and tap with a larger thread.

Progress is progress and I’ll take what I can get!

-Nick
 

Attachments

  • IMG_6494.jpeg
    IMG_6494.jpeg
    108 KB · Views: 9
  • IMG_6493.jpeg
    IMG_6493.jpeg
    107.5 KB · Views: 9
  • IMG_6495.jpeg
    IMG_6495.jpeg
    89.1 KB · Views: 9
  • IMG_6486.jpeg
    IMG_6486.jpeg
    114.9 KB · Views: 9
Good job getting the three drilled and replaced. Hopefully the last on will go well too. Keep us updated and appreciate the pictures!
 
Thanks, Red!

I ran into a little snag installing my swaged threaded fittings as they are 3/8" diameter and not 5/16" like the original cables. I debated using eyebolts and hourglass sleeves instead, but wasn't finding eyebolts locally that had more than ~180 pound working load limit. I'm sure they'd be fine but I already had the threaded ends, so I drilled out the 5/16" holes in the frame to 3/8" for the new fittings. I have the front left cable run and secured at the lift end.

I experimented a bit with some J-B Weld in the oversized hole I made at the top end of the cable. I let it cure for a few days, and drilled and tapped it the same as the other bolts that snapped. That seemed to do the trick, but I'm keeping my expectations realistic... We will see once I secure that end of the cable. I'm hoping that once the head of the bolt is tightened against the bottom of the steel framework, any lateral pull of the cable won't cause failure of the threads.

It makes me wonder if I should install a sleeve of some kind in the lower hole which is a bit larger than the diameter of the 5/16" bolt to assist with some of that lateral force.

-Nick
 
Sounds like it is coming together for you!!

When I did mine, I drilled out the frame and made a sleeve out of a piece of ridge sharkbite/pex tubing. It not only strengthened it laterally but also leveled it out since the frame was partially crushed from over-tightening in the past.

I then used a piece of steel to also help carry the twist and weight of the cable around the edge.

Keep up the good work!!
frame1.jpeg
frame2.jpeg
frame3.jpeg
frame5.jpeg
 
That’s a great idea, Red! I think I’ll get some 3/8” PEX and do exactly that. I also like the reinforcement bracket too. If I ever rebuild the walls, which I’m sure I will if I have this camper long enough, I’ll definitely go that route along with your solid 4x4 beam.

I’ll be back at it later this week, and I’ve got a Renogy solar kit coming so I have some motivation to get this roof off the 2x4s!
 

New posts

Try RV LIFE Pro Free for 7 Days

  • New Ad-Free experience on this RV LIFE Community.
  • Plan the best RV Safe travel with RV LIFE Trip Wizard.
  • Navigate with our RV Safe GPS mobile app.
  • and much more...
Try RV LIFE Pro Today
Back
Top